Notebooks are not just tools for writing—they are a canvas for creativity. Whether you love journaling, planning, sketching, or note-taking, turning a plain notebook into an aesthetic masterpiece is both fun and rewarding. With DIY notebook projects, you can personalize your stationery to reflect your style while creating a functional piece of art. In this guide, we’ll explore ten aesthetic notebook DIY ideas that are easy, affordable, and incredibly satisfying to make.
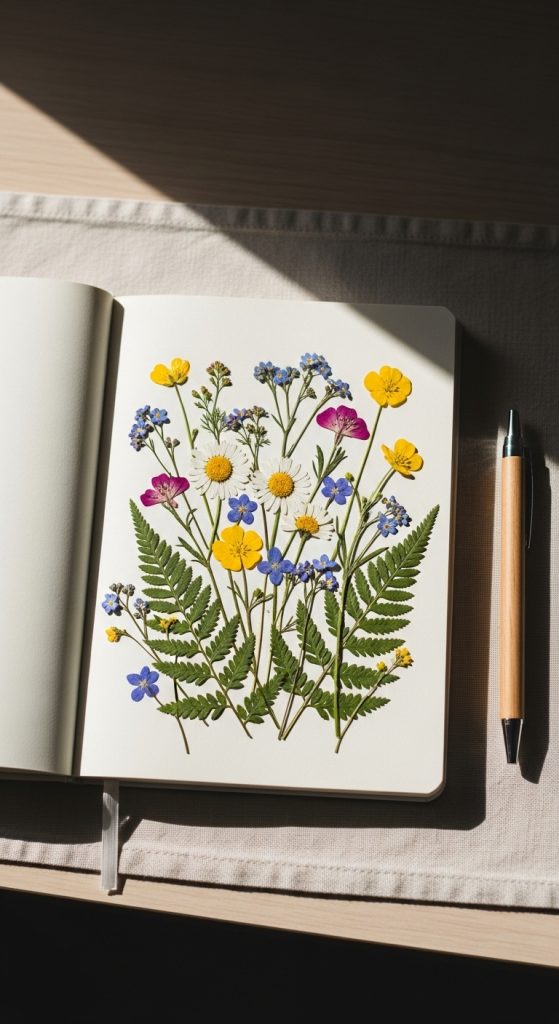
1. Pressed Flower Notebook Cover
One of the most timeless ways to create a visually pleasing notebook is by using pressed flowers. These delicate botanical designs add elegance and a natural touch to your stationery.
Materials Needed:
- Plain notebook
- Pressed flowers
- Clear contact paper or laminating sheets
- Glue stick or craft glue
- Scissors
Instructions:
- Arrange your pressed flowers on the front cover of the notebook.
- Once satisfied with the layout, glue the flowers carefully onto the cover.
- Cover the entire front with clear contact paper to protect the flowers and make the surface smooth.
- Trim the excess contact paper, and your notebook is ready.
Tips:
- Choose flowers that are thin and flat for easier gluing.
- Try arranging flowers in a gradient pattern for a modern aesthetic.
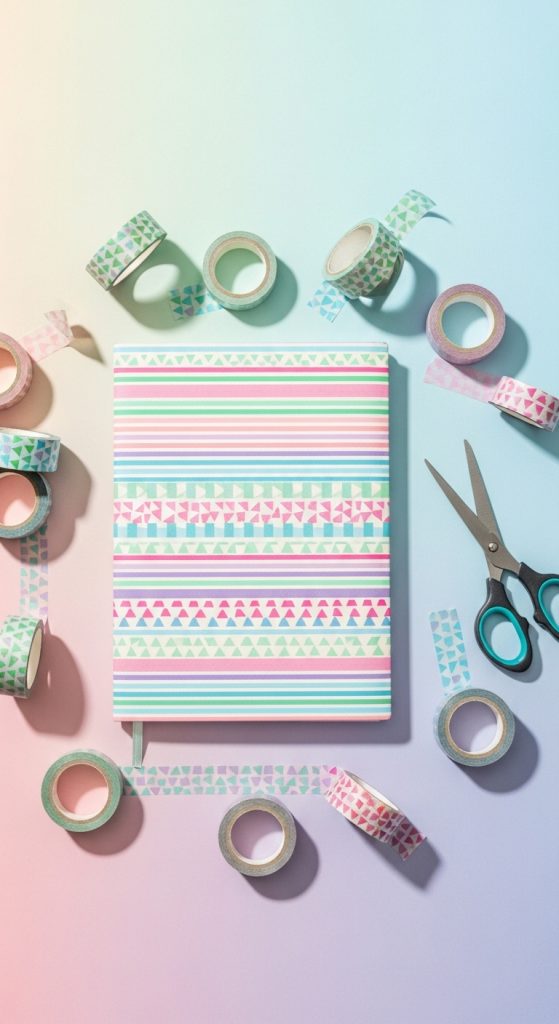
2. Washi Tape Patterns
Washi tape is a staple for any stationery lover. Its variety of colors and patterns makes it perfect for decorating notebooks.
Materials Needed:
- Plain notebook
- Washi tape in assorted colors and patterns
- Scissors
Instructions:
- Clean the notebook cover to ensure the tape sticks properly.
- Start creating patterns—stripes, chevrons, or geometric shapes are popular choices.
- Layer tapes or combine solid colors with patterned tapes for more dimension.
Tips:
- Use complementary colors to maintain a cohesive aesthetic.
- Washi tape can also be applied inside for page tabs or borders.
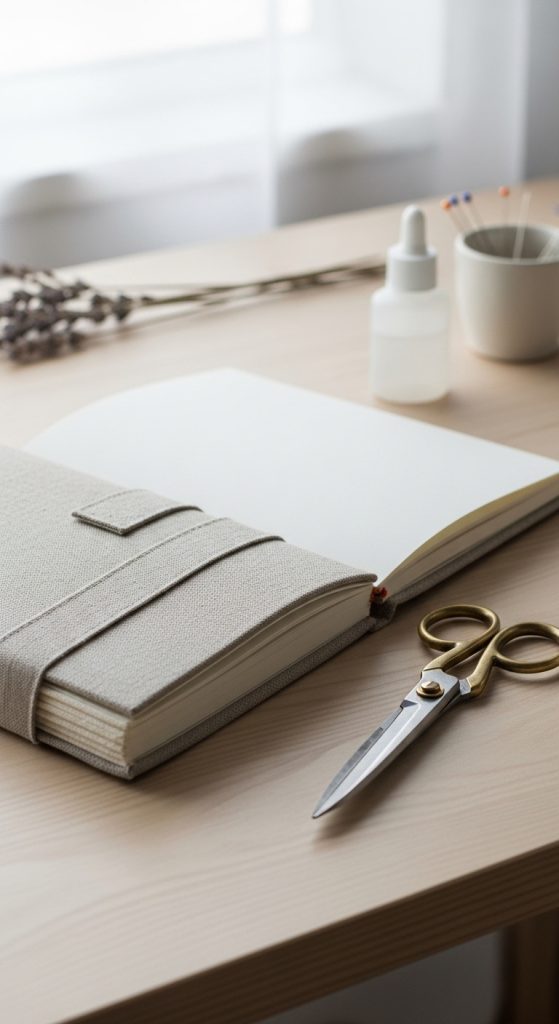
3. Fabric-Covered Notebook
Covering a notebook with fabric instantly gives it a cozy and chic appearance. It’s a perfect option for soft, tactile designs.
Materials Needed:
- Plain notebook
- Fabric of choice
- Fabric glue or Mod Podge
- Scissors
- Ruler
Instructions:
- Cut the fabric to size, leaving extra inches on all sides to wrap around the cover.
- Apply glue evenly on the notebook cover.
- Place the fabric on the cover, smoothing out wrinkles as you go.
- Fold the edges neatly and secure them inside the cover.
Tips:
- Choose lightweight fabrics like cotton or linen to avoid bulk.
- Patterned fabrics can be paired with plain notebooks for a minimalistic look.
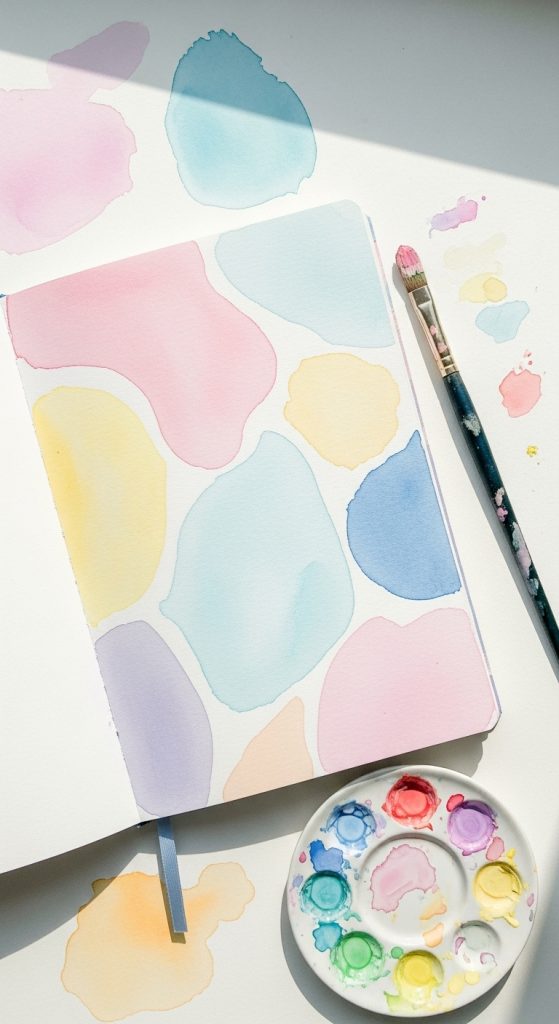
4. Painted Watercolor Notebook
Watercolors are perfect for a soft, dreamy notebook design. The beauty of watercolor is that even abstract strokes can look professional.
Materials Needed:
- Plain notebook
- Watercolor paints
- Paintbrushes
- Water and palette
- Painter’s tape (optional for clean edges)
Instructions:
- Tape the edges of the notebook if you want a clean border.
- Use watercolor to paint abstract patterns, gradients, or ombre effects.
- Let it dry completely before using the notebook.
Tips:
- Layer colors gradually to avoid warping the notebook cover.
- Adding a thin layer of clear acrylic sealant can protect your design.
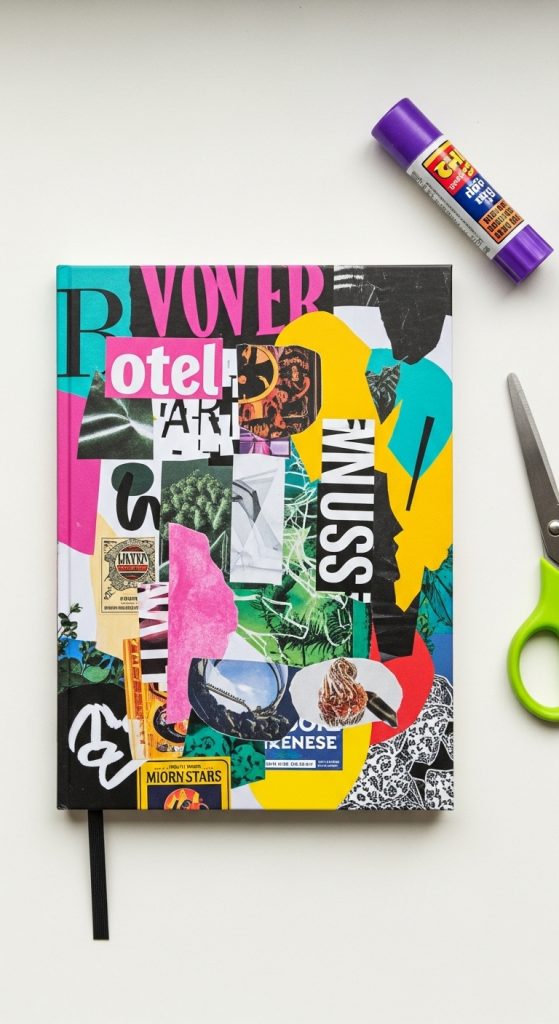
5. Collage Notebook Cover
Collages give you the freedom to mix and match materials, creating a visually striking notebook.
Materials Needed:
- Plain notebook
- Magazines, printed photos, or scrap paper
- Glue stick or Mod Podge
- Scissors
- Clear contact paper (optional)
Instructions:
- Cut out images, patterns, or words from your chosen sources.
- Arrange the pieces on your notebook cover in a visually pleasing way.
- Glue each piece down carefully.
- Cover with contact paper or a layer of Mod Podge to seal the collage.
Tips:
- Try a theme for your collage, such as travel, nature, or quotes.
- Overlapping elements adds depth and creativity.
6. Embossed Leather Notebook
For a sophisticated, professional aesthetic, embossing a leather notebook cover is ideal.
Materials Needed:
- Leather or faux leather notebook cover
- Embossing tools (or stamps)
- Pencil or chalk for design
- Craft hammer (optional)
Instructions:
- Lightly sketch your design on the leather with pencil.
- Use embossing tools or stamps to carve or press your design into the leather.
- Optional: apply a leather conditioner to enhance shine and longevity.
Tips:
- Simple geometric designs or initials work best for beginners.
- Practice embossing on a scrap piece before working on the notebook.

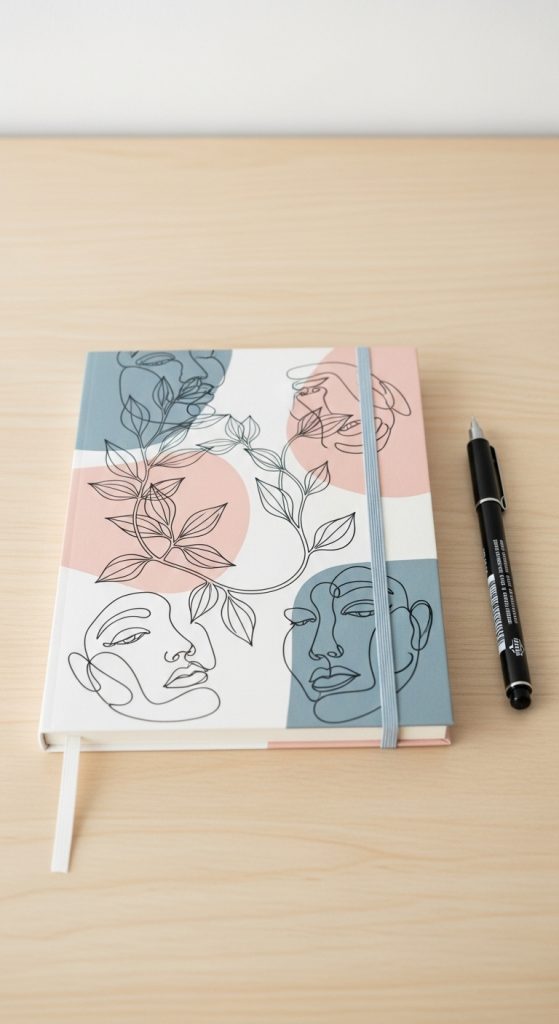
7. Minimalist Line Art
Minimalism is a trending aesthetic. A simple line art design can turn a blank notebook into a piece of modern art.
Materials Needed:
- Plain notebook
- Black fine liner or gel pen
- Pencil for sketching
Instructions:
- Sketch your line art lightly with a pencil on the cover.
- Trace over your sketch with a fine liner.
- Erase any pencil marks after the ink dries.
Tips:
- Abstract faces, plant outlines, or geometric shapes are popular choices.
- Pair with a soft pastel notebook cover for a delicate look.
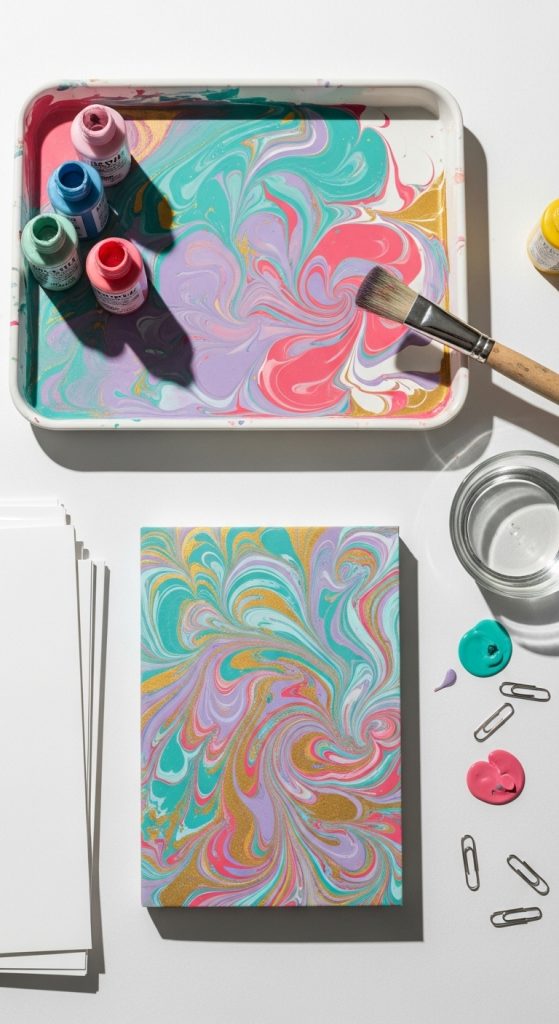
8. Marbled Notebook Cover
Marbling creates a stunning visual effect reminiscent of polished stone or flowing water.
Materials Needed:
- Plain notebook
- Acrylic paints
- Shallow tray
- Water
- Toothpick or skewer
- Tape
Instructions:
- Fill the tray with water and drizzle paints on the surface.
- Swirl the colors with a toothpick to create a marble effect.
- Dip the notebook cover into the water gently to transfer the pattern.
- Let dry completely before use.
Tips:
- Use contrasting colors for a bolder effect or pastels for a softer look.
- Practice on paper first to master the technique.
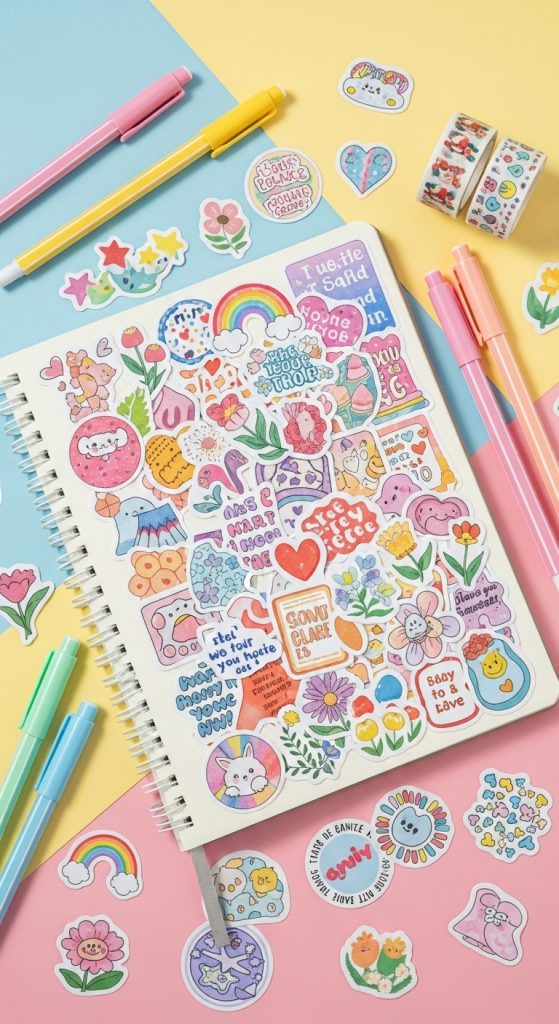
9. Sticker Aesthetic Notebook
Stickers are the easiest way to create a themed notebook without much effort. They’re perfect for personalizing your journal on the go.
Materials Needed:
- Plain notebook
- Stickers (vintage, pastel, or themed)
- Clear adhesive film (optional)
Instructions:
- Choose a notebook with a color that complements your stickers.
- Arrange stickers on the cover, experimenting with placement.
- Stick them down firmly, smoothing out any air bubbles.
- Cover with clear adhesive film to make the design long-lasting.
Tips:
- Mix and match different sizes of stickers to create depth.
- Consider creating a color-coded theme for a cohesive look.
10. Hand-Lettered Quote Notebook
Nothing is more personal than a notebook with an inspiring quote on the cover. Hand-lettering gives your notebook a unique charm.
Materials Needed:
- Plain notebook
- Brush pens or markers
- Pencil for sketching
Instructions:
- Lightly sketch your favorite quote on the cover.
- Trace over the sketch with brush pens or markers.
- Add simple embellishments like borders, lines, or small doodles.
Tips:
- Use calligraphy techniques for a professional appearance.
- Metallic or white pens on dark notebooks create a striking contrast.

Bonus Tips for Aesthetic Notebook DIYs
- Mix Techniques: Combine two or more of the above methods for unique results, like washi tape with stickers or watercolor with hand-lettered quotes.
- Consider Functionality: If your notebook will be used daily, make sure covers are durable and protected.
- Seasonal Themes: Create notebooks inspired by seasons, holidays, or moods to make them more thematic.
- Personalization: Adding your initials or a monogram increases the sentimental value.
Conclusion
DIY notebooks are more than just stationery—they are a form of self-expression. Whether you enjoy the elegance of pressed flowers, the simplicity of minimalist line art, or the vibrant creativity of marbling and collages, there’s an aesthetic notebook DIY for everyone. These projects are not only visually appealing but also encourage mindfulness and creativity in your daily routine.
By experimenting with materials, colors, and designs, you can turn a simple notebook into a personal masterpiece that inspires every time you open it. So, gather your supplies, let your imagination run wild, and create a notebook that’s uniquely yours.
Author
admin@weltpromi.de
Related Posts
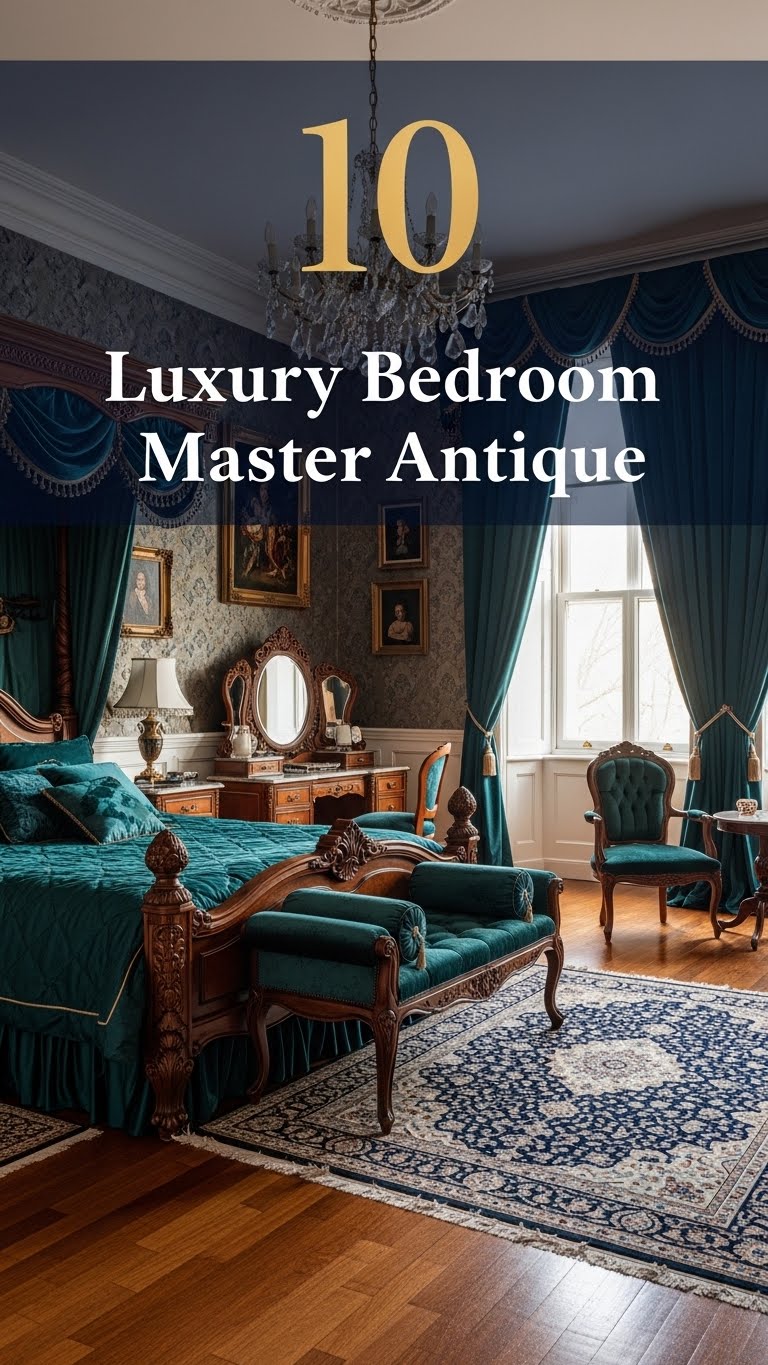
10 Luxury Bedroom Master Antique
Creating a luxurious master bedroom is all about blending comfort, elegance, and timeless design. When you add antique elements into the mix,...
Read out all
10 Luxury Master Bedroom Attic
Turning an attic into a luxurious master bedroom is an excellent way to maximize your home’s potential. Attics often come with unique...
Read out all
10 Luxury Bedroom Master Aesthetic
Creating a luxurious master bedroom is about more than just choosing expensive furniture. It is about crafting a space that embodies comfort,...
Read out all
10 Bedroom Bed Designs
Your bedroom is more than just a place to sleep—it’s a sanctuary, a personal retreat where style and comfort meet. Central to...
Read out all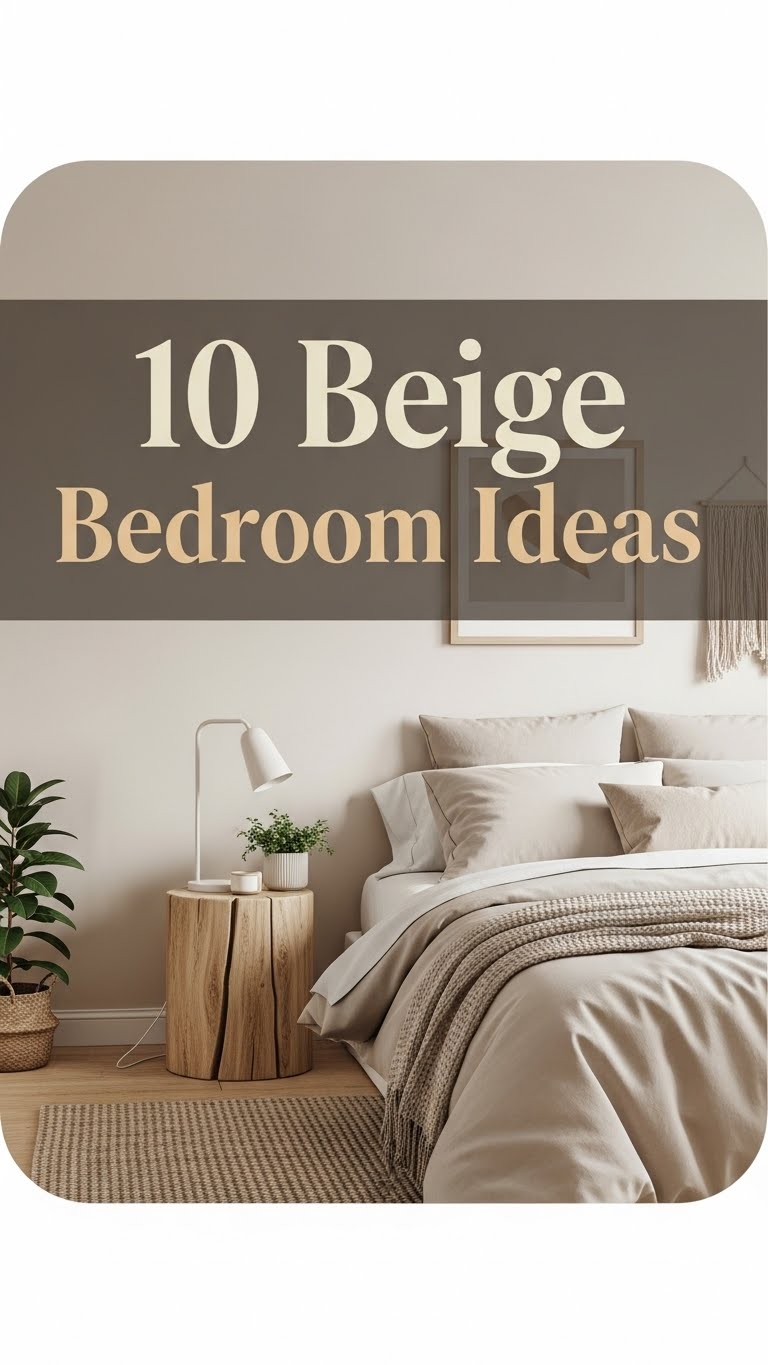
10 Beige Bedroom Ideas
When it comes to bedroom design, beige is a timeless and versatile color that exudes warmth, sophistication, and calm. Unlike brighter colors...
Read out all
10 Cool Bedroom Ideas
Your bedroom is more than just a place to sleep. It is your sanctuary, your personal retreat, and a reflection of your...
Read out all