
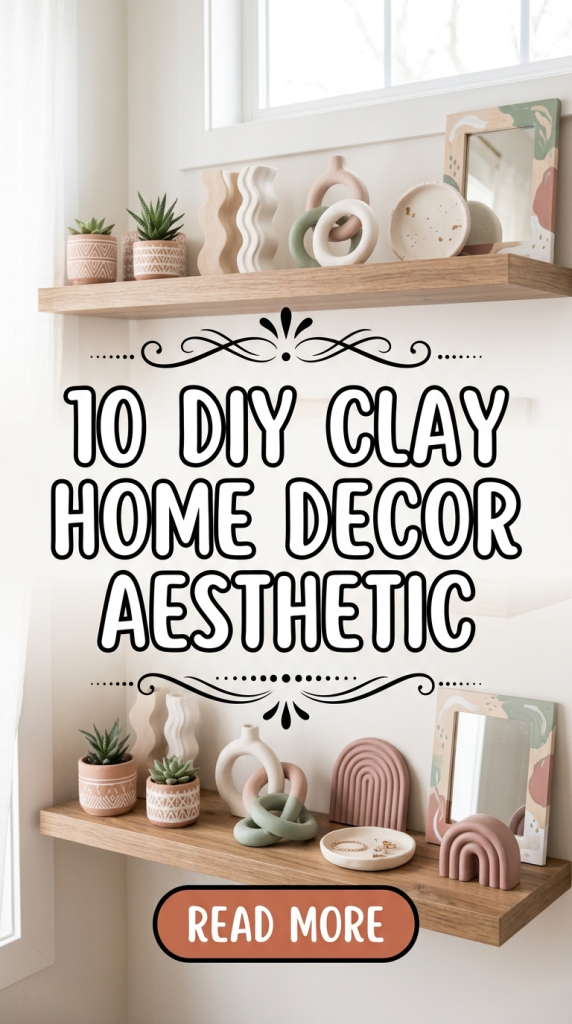
Creating a beautiful and personalized home doesn’t always require buying expensive decor. DIY projects are a fantastic way to express creativity, add unique touches, and transform any space into a cozy, aesthetic haven. One of the most versatile and accessible materials for DIY home decor is clay. Clay is affordable, moldable, and perfect for both functional and purely decorative projects. Whether you are a beginner or an experienced crafter, there is something magical about shaping clay with your hands to bring your decor ideas to life.
In this blog post, we will explore ten DIY clay home decor ideas that are not only stylish but also easy to create. Each project emphasizes simplicity, elegance, and the warm aesthetic that clay naturally provides.
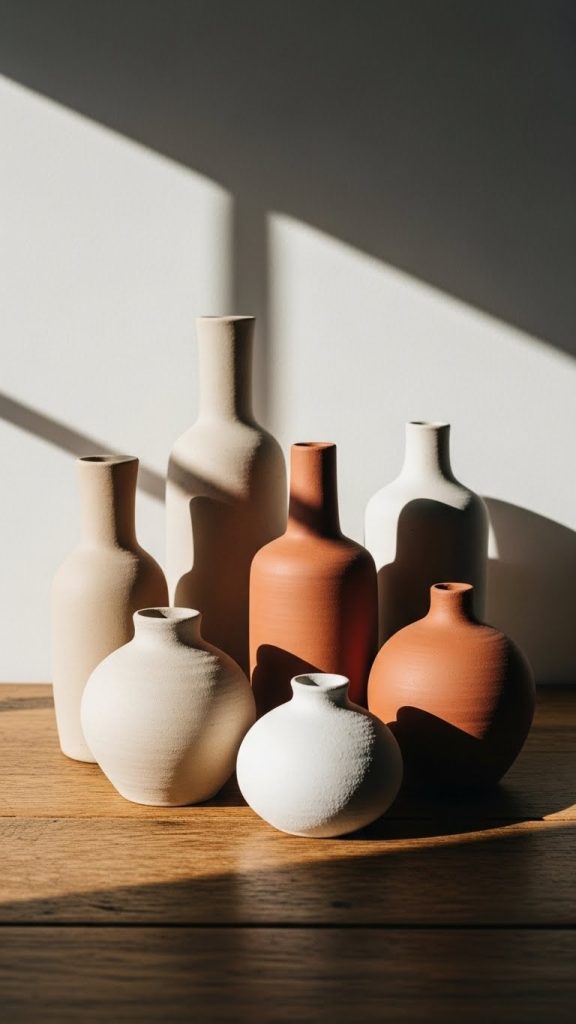
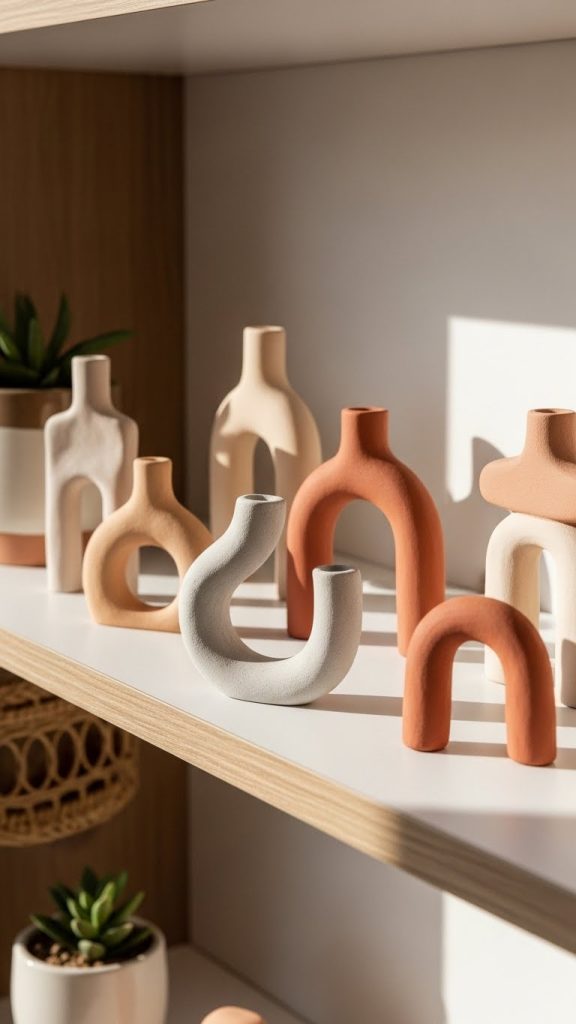
1. Minimalist Clay Vases
Minimalist vases are perfect for showcasing flowers, dried plants, or even standing alone as sculptural pieces. One of the most charming aspects of DIY clay vases is their imperfections. Each hand-shaped vase is unique, giving a warm, personal touch to your home.
Materials Needed:
- Air-dry clay
- Rolling pin
- Clay sculpting tools or household items like a knife and toothpicks
- Sandpaper
- Acrylic paint or natural finish
Steps:
- Roll out your clay to a consistent thickness.
- Shape it into a cylinder or a more abstract, organic form.
- Smooth out rough edges with your fingers or a damp sponge.
- Allow it to dry completely, usually 24-48 hours.
- Sand lightly and paint if desired.
Tip: Keep the colors neutral—beige, terracotta, and muted pastels enhance the aesthetic appeal.
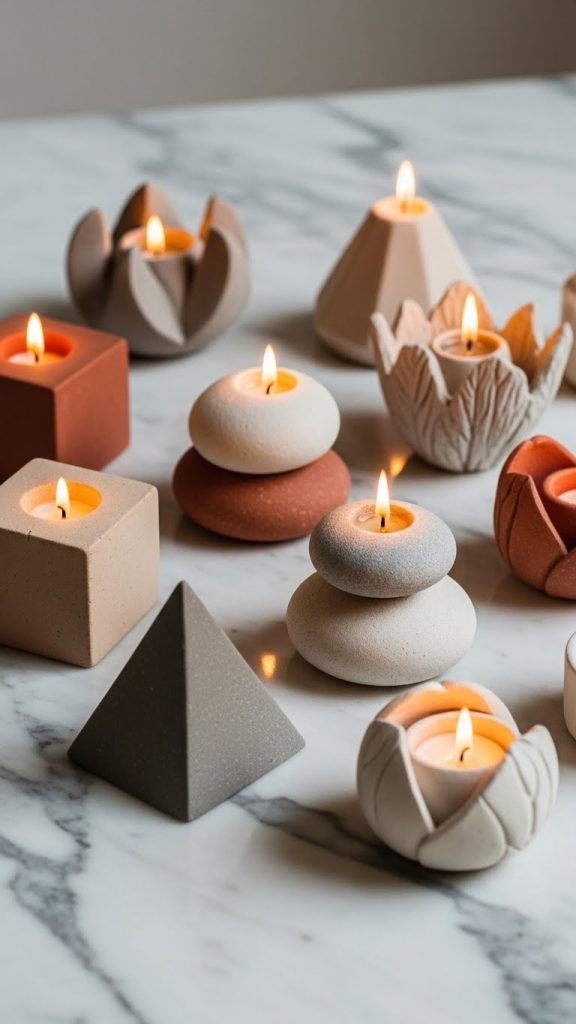
2. Clay Candle Holders
A soft glow from candles adds warmth to any space. DIY clay candle holders are charming because they can be customized in size, shape, and texture. You can create geometric, organic, or patterned designs depending on your style.
Materials Needed:
- Air-dry or oven-bake clay
- Rolling pin
- Mold or handmade shaping tools
- Varnish (optional)
Steps:
- Roll clay to your desired thickness.
- Cut shapes to hold tea lights or taper candles.
- Use tools or your fingers to create textures, such as grooves, ridges, or indentations.
- Let them dry completely before use.
- Optional: Seal with a matte or glossy varnish.
Tip: Group multiple holders together to create an elegant centerpiece for your dining or coffee table.
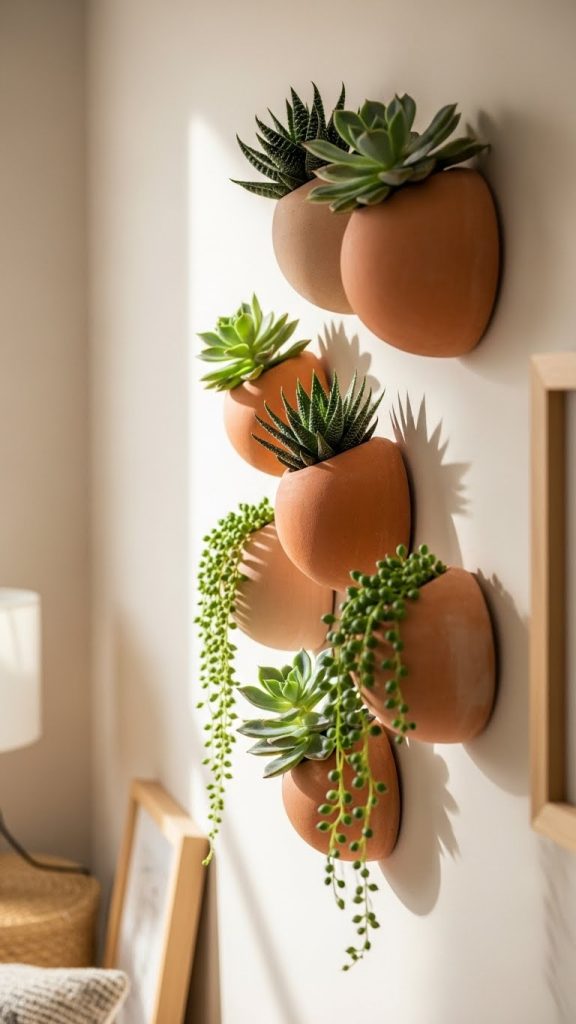
3. Wall-Mounted Clay Planters
Bring life and greenery into your home with wall-mounted clay planters. These compact planters are perfect for small spaces and add a modern, earthy vibe to any wall.
Materials Needed:
- Air-dry clay
- Small container to shape the planter
- Hook or wall mounting hardware
Steps:
- Mold the clay into a small planter shape. Consider a half-circle, square, or rounded design.
- Smooth out the edges and create a flat back for wall mounting.
- Once dry, attach a hook or secure with adhesive wall mounts.
- Fill with small plants like succulents or air plants.
Tip: Stick to neutral shades like beige, grey, or soft brown to maintain a minimalist aesthetic.
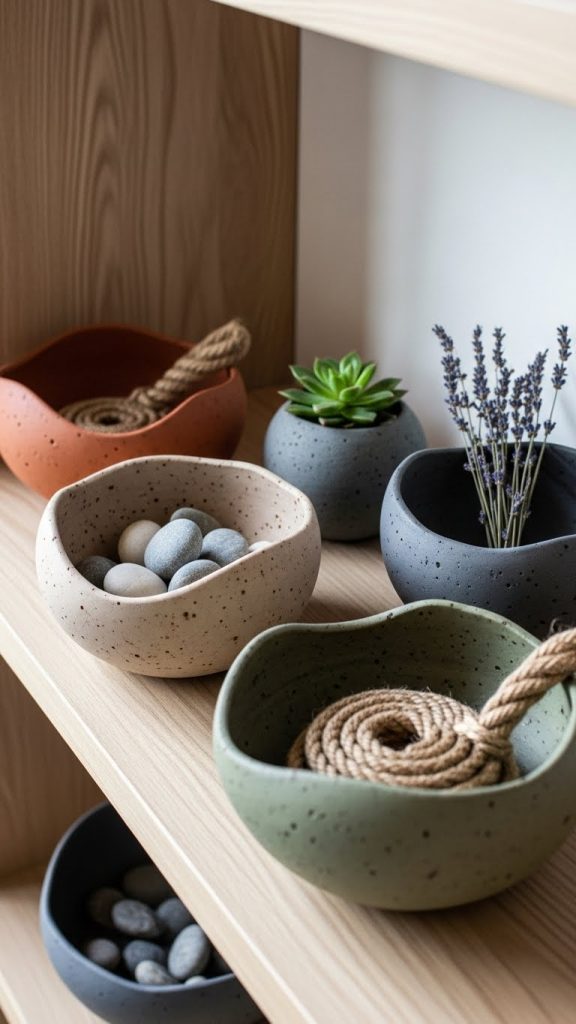
4. Decorative Clay Bowls
Clay bowls can be both decorative and functional. They make beautiful holders for keys, jewelry, or even snacks. Their organic shapes and textures add a rustic charm to your shelves or countertops.
Materials Needed:
- Air-dry clay
- Rolling pin
- Bowl or circular object as a mold
Steps:
- Flatten a piece of clay and shape it over your mold.
- Press gently and smooth the edges.
- Add texture with stamps, carving tools, or even lace for unique patterns.
- Let it dry and optionally paint or seal.
Tip: Mix small amounts of natural pigments into your clay for soft pastel or earthy tones.
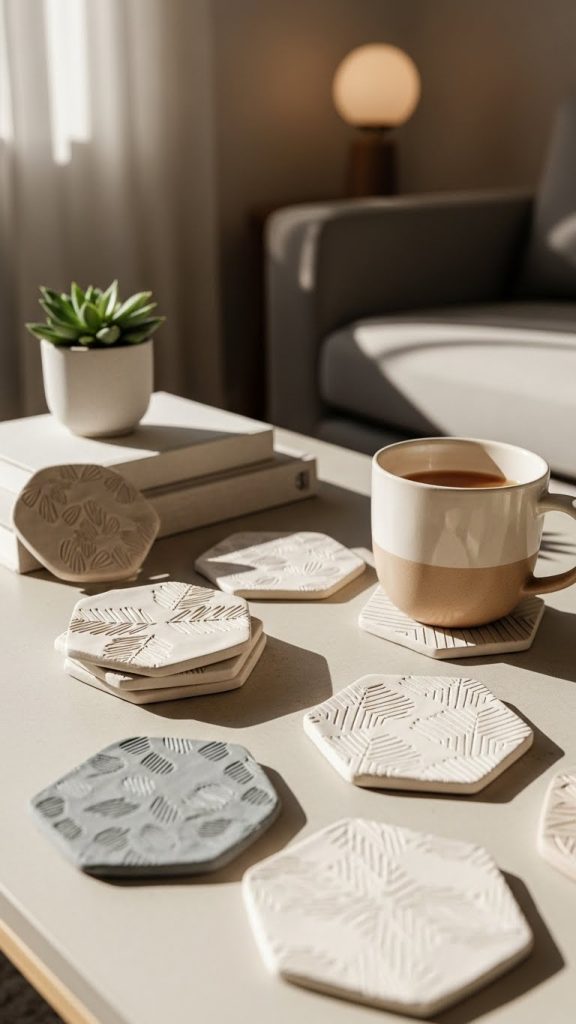
5. Personalized Clay Coasters
Clay coasters are functional and add a handmade touch to your living room or kitchen. They are simple to create and make wonderful gifts.
Materials Needed:
- Air-dry clay
- Rolling pin
- Cookie cutters or freehand shapes
- Sealant for protection
Steps:
- Roll clay to a consistent thickness of about half an inch.
- Cut into desired shapes—circles, squares, or hexagons work beautifully.
- Add designs with a toothpick or small stamp.
- Let them dry completely and seal with varnish.
Tip: Keep the design minimal for a chic, modern aesthetic. A single engraved line or shape is enough to make them stand out.
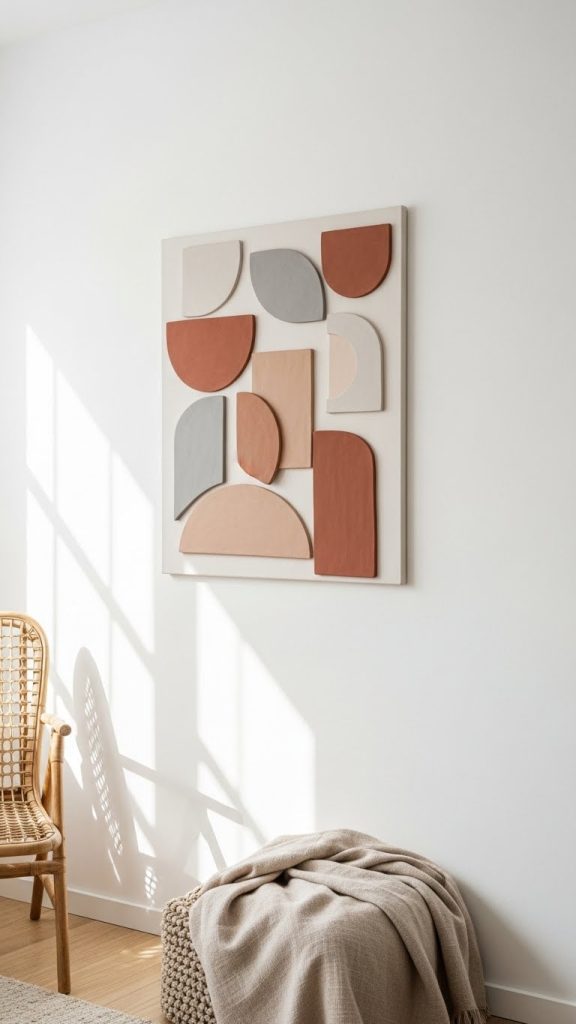
6. Clay Wall Art
Clay wall art brings texture and dimension to your walls. You can create abstract pieces, geometric patterns, or floral designs. This project allows for creativity without requiring advanced skills.
Materials Needed:
- Air-dry clay
- Canvas or wooden board
- Sculpting tools
Steps:
- Roll out thin sheets of clay and cut or sculpt shapes.
- Arrange the shapes on a canvas or wooden board.
- Press gently to adhere.
- Once dry, mount your artwork on the wall.
Tip: Combine neutral clay tones with subtle accent colors to enhance depth and sophistication.
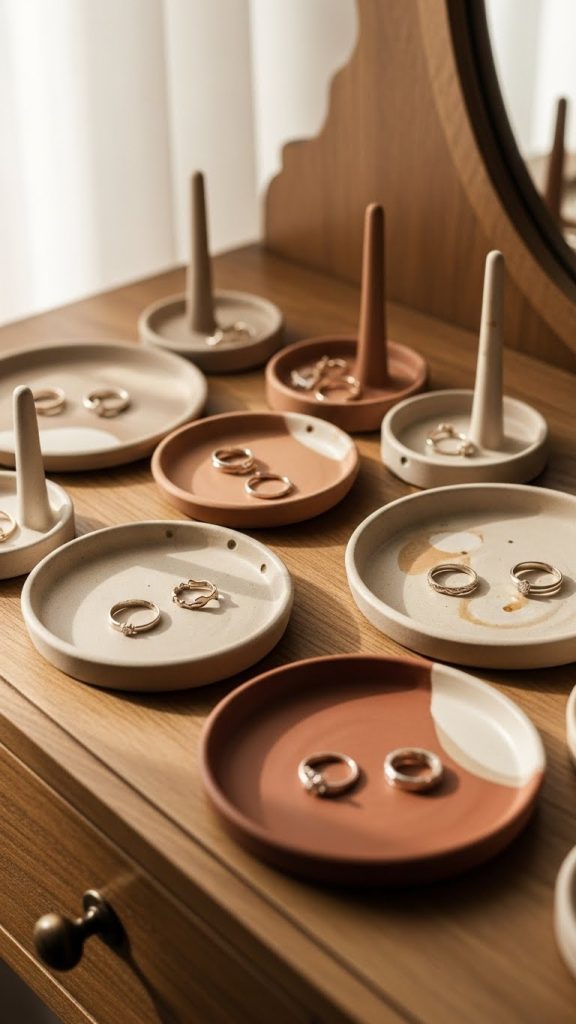
7. Clay Jewelry Holders
Keep your jewelry organized with elegant clay trays and holders. From ring dishes to earring stands, these small projects are both practical and decorative.
Materials Needed:
- Air-dry clay
- Small molds or freehand shaping
- Rolling pin
Steps:
- Shape small dishes or stands for rings, bracelets, and earrings.
- Create shallow indentations to hold jewelry.
- Let dry completely and smooth rough edges.
- Optionally, paint or leave natural.
Tip: Soft, curved shapes give a modern and organic feel, while geometric designs add a contemporary edge.
8. Clay Ornaments and Figurines
Decorative clay figurines and ornaments are perfect for adding character to shelves, mantels, or even as seasonal decor. From abstract shapes to mini sculptures, they bring a personalized touch to your home.
Materials Needed:
- Air-dry clay
- Sculpting tools
- Paint or natural finish
Steps:
- Mold clay into your desired shapes or figurines.
- Use tools to add texture or intricate details.
- Dry completely and optionally paint.
Tip: Place a few figurines together on a shelf to create a curated and artistic vignette.
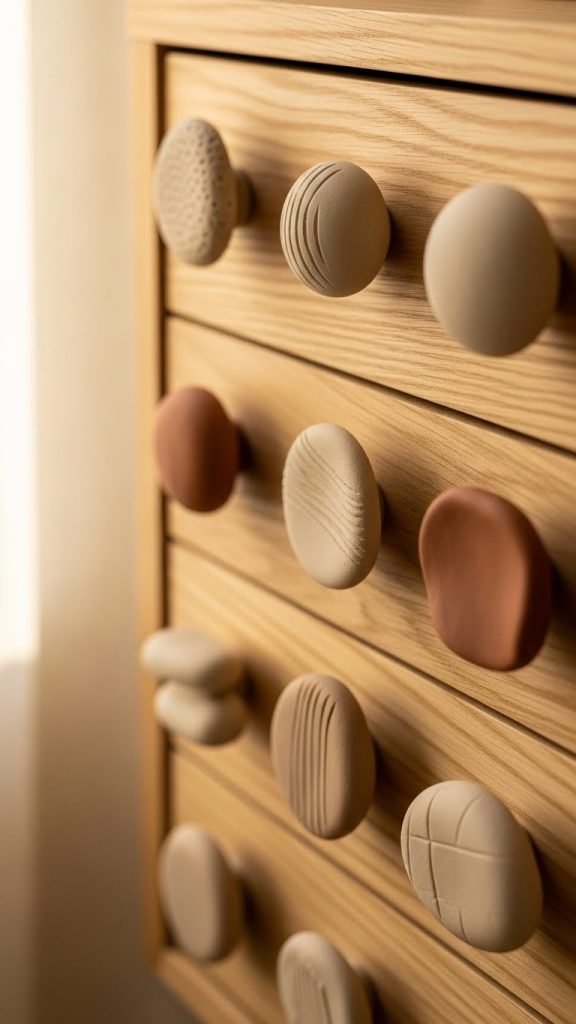
9. Clay Drawer Pulls and Knobs
Elevate your furniture with custom clay drawer pulls or knobs. This small detail can completely transform a dresser, cabinet, or nightstand.
Materials Needed:
- Air-dry clay
- Screw-in knobs (can be reused from old furniture)
- Rolling pin and sculpting tools
Steps:
- Shape clay around the knob base and smooth the edges.
- Allow to dry completely.
- Attach to your furniture as a unique upgrade.
Tip: Mix textures and finishes for a playful yet cohesive look. Matte and natural clay tones are ideal for a modern, minimalist style.
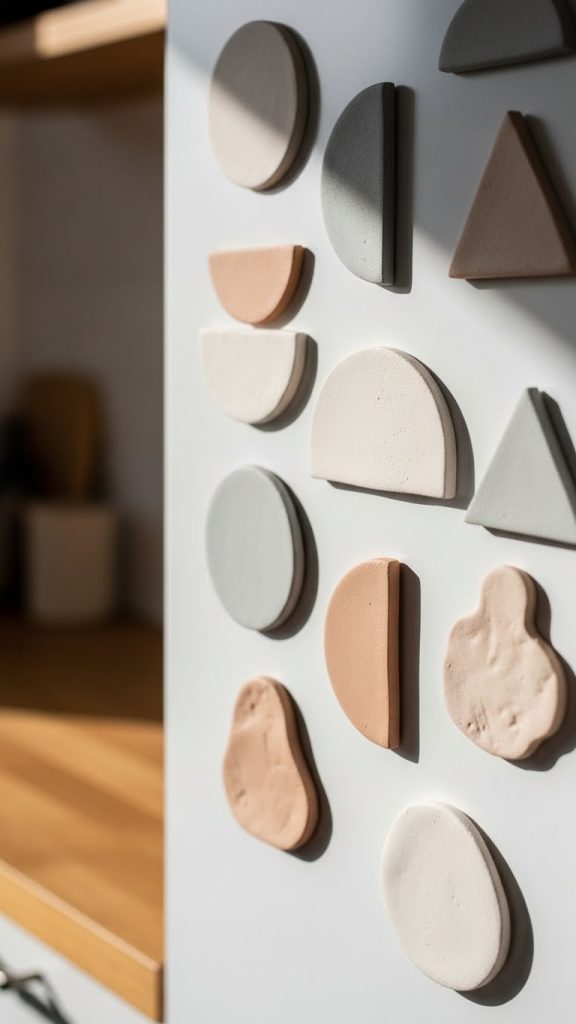
10. Clay Magnets
Clay magnets are small but impactful decor accents for your kitchen, office, or any magnetic surface. They are easy to make and fun to personalize.
Materials Needed:
- Air-dry clay
- Small magnet discs
- Rolling pin
Steps:
- Shape small clay pieces into simple shapes—geometric, floral, or abstract.
- Attach magnet discs to the back using strong adhesive.
- Let the clay dry completely before use.
Tip: Group magnets in sets of three or five to create visual interest. Neutral and muted tones maintain a cohesive aesthetic.
Final Thoughts
DIY clay decor is a wonderful way to infuse personality, warmth, and creativity into your home. The beauty of clay lies in its versatility and tactile nature. You can mold, carve, paint, or glaze it to create pieces that are entirely your own. From functional items like vases and coasters to purely decorative art, clay has endless possibilities for enhancing your living space.
These ten DIY clay home decor ideas are beginner-friendly, budget-conscious, and perfect for anyone looking to add a handmade, aesthetic touch to their home. Each project encourages creativity, mindfulness, and a deeper connection to your personal space.
Whether you are sprucing up a shelf, adding charm to your walls, or creating unique gifts, clay is an accessible and elegant solution. Start small, experiment with textures and shapes, and enjoy the process of creating beautiful decor that reflects your style.
Author
admin@weltpromi.de
Related Posts
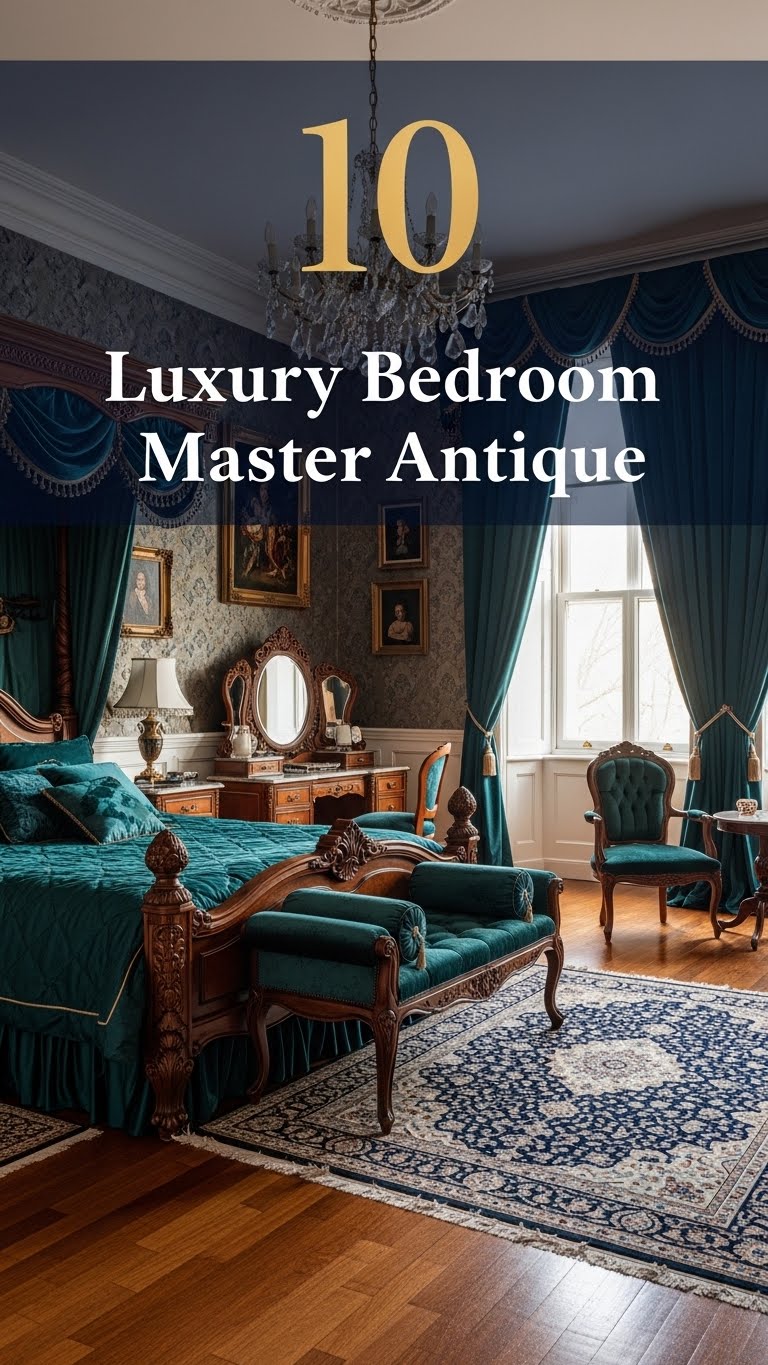
10 Luxury Bedroom Master Antique
Creating a luxurious master bedroom is all about blending comfort, elegance, and timeless design. When you add antique elements into the mix,...
Read out all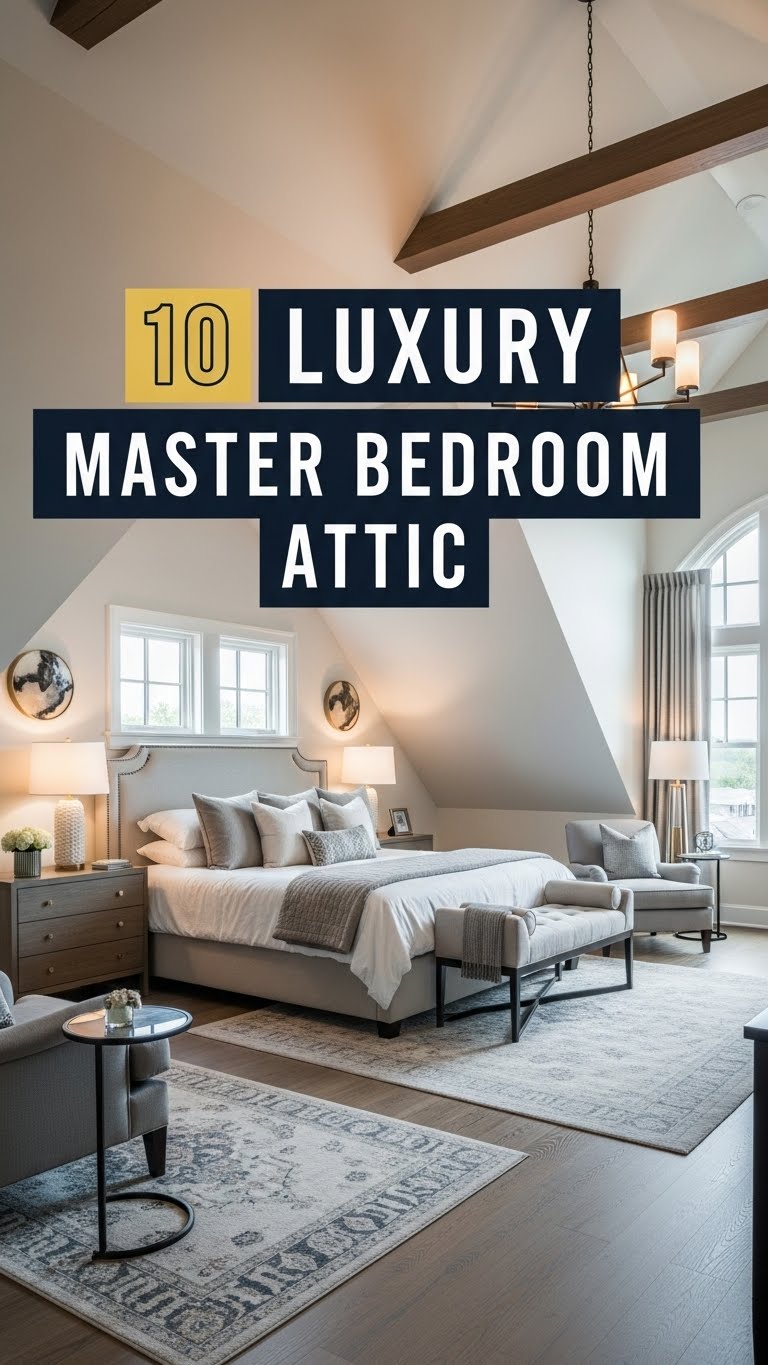
10 Luxury Master Bedroom Attic
Turning an attic into a luxurious master bedroom is an excellent way to maximize your home’s potential. Attics often come with unique...
Read out all
10 Luxury Bedroom Master Aesthetic
Creating a luxurious master bedroom is about more than just choosing expensive furniture. It is about crafting a space that embodies comfort,...
Read out all
10 Bedroom Bed Designs
Your bedroom is more than just a place to sleep—it’s a sanctuary, a personal retreat where style and comfort meet. Central to...
Read out all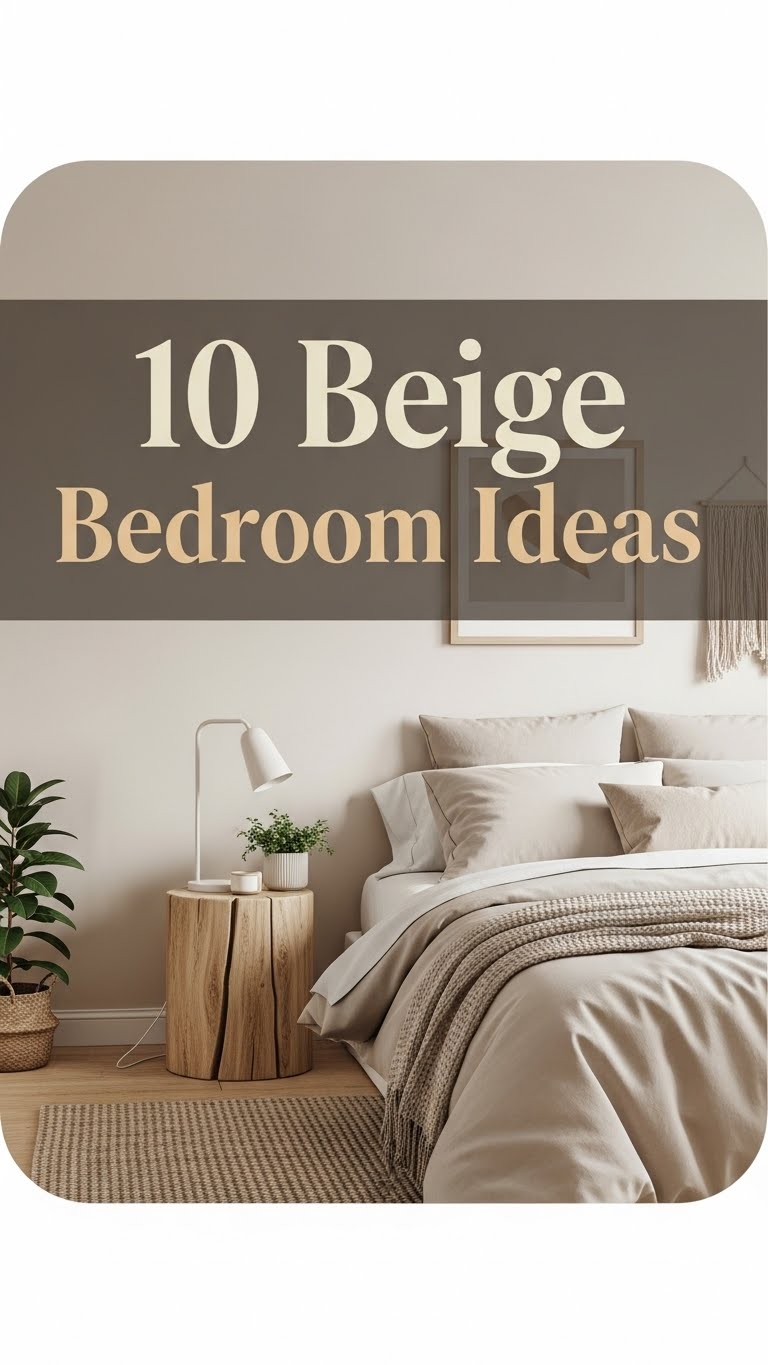
10 Beige Bedroom Ideas
When it comes to bedroom design, beige is a timeless and versatile color that exudes warmth, sophistication, and calm. Unlike brighter colors...
Read out all
10 Cool Bedroom Ideas
Your bedroom is more than just a place to sleep. It is your sanctuary, your personal retreat, and a reflection of your...
Read out all