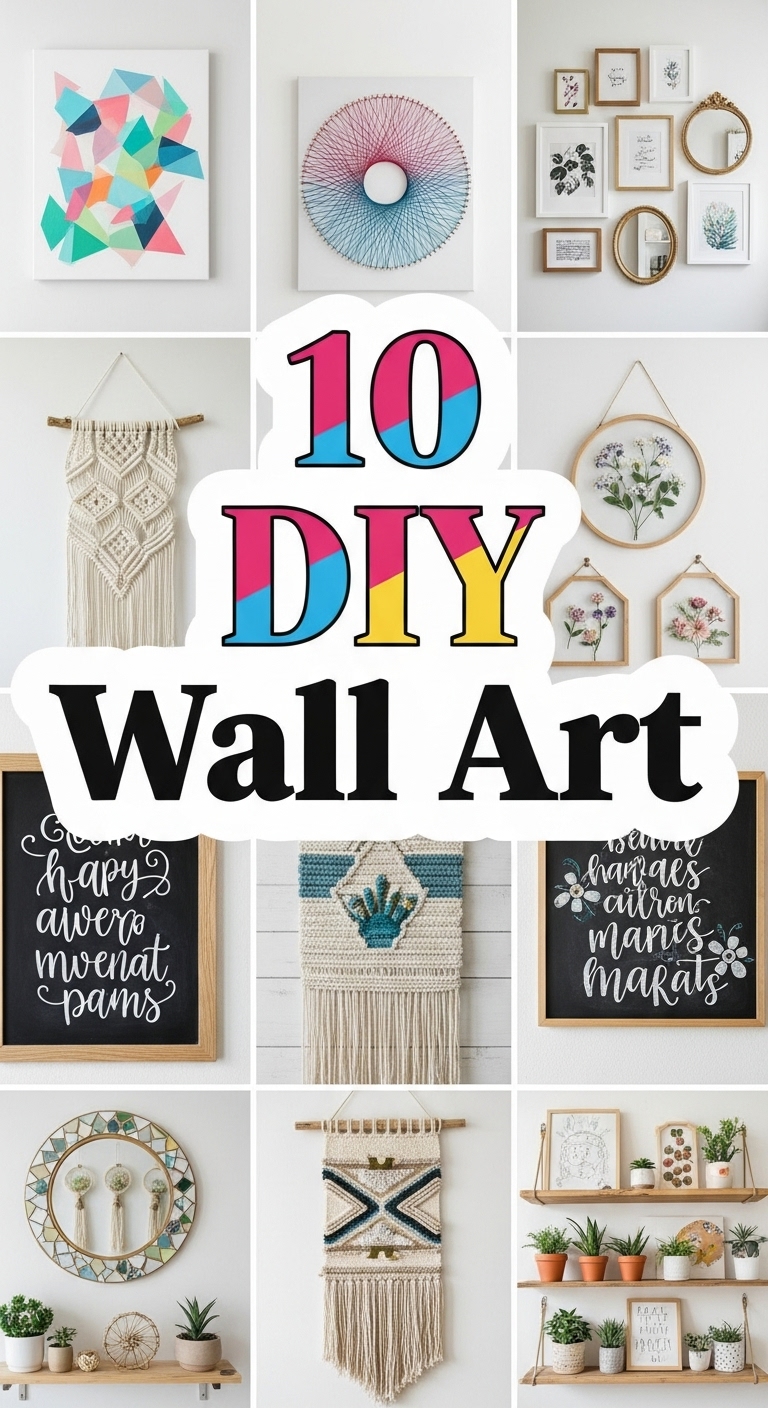
Decorating your home is one of the most enjoyable ways to express your personality and creativity. While buying art can be expensive, DIY wall art allows you to customize your space while adding a personal touch. Whether you prefer modern, minimalist, or bohemian styles, there is a DIY wall art project for everyone. In this guide, we will explore ten creative ideas that will transform your walls into stunning focal points.

1. Canvas Paint Pouring
Canvas paint pouring is a fun and abstract way to create colorful, modern art for your walls. This technique involves mixing acrylic paints with a pouring medium and then pouring them onto a canvas.
Materials Needed:
- Canvas
- Acrylic paints in your favorite colors
- Pouring medium
- Cups and stir sticks
- Gloves and a protective surface
Steps:
- Mix each paint color with the pouring medium according to the instructions.
- Layer different paint colors in a cup.
- Pour the paint onto the canvas in any pattern you like.
- Tilt the canvas to let the colors flow and create unique designs.
- Allow the canvas to dry for 24 hours.
Tips:
- Use complementary colors for a harmonious look.
- Experiment with metallic paints to add shine.
- Try different pouring techniques, like the “dirty pour” or “flip cup,” for varied effects.
Canvas paint pouring is perfect for creating abstract wall art that becomes a conversation piece in any room.

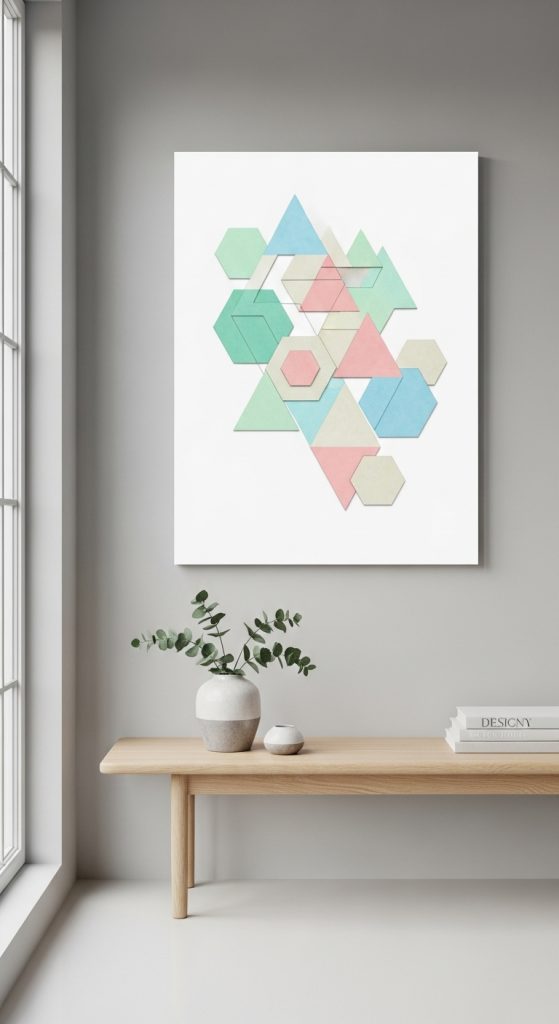
2. Geometric Wall Art
Geometric designs are ideal for a modern, minimalist aesthetic. You can create geometric wall art using painter’s tape and acrylic paint.
Materials Needed:
- Canvas or thick paper
- Painter’s tape
- Acrylic paints
- Paintbrushes
Steps:
- Plan your geometric design. Triangles, squares, and hexagons work well.
- Use painter’s tape to mark off the shapes.
- Paint each shape in your chosen colors.
- Remove the tape carefully after the paint dries.
Tips:
- Stick to two or three colors for a clean, modern look.
- Metallic or neon colors can create a striking effect.
- Use overlapping shapes for a more complex design.
Geometric wall art can be large and bold or small and subtle, making it suitable for any room in your home.
3. String Art
String art is a creative way to turn simple nails and thread into stunning wall decorations.
Materials Needed:
- Wooden board
- Nails
- Embroidery thread or string
- Hammer
- Pencil for outlining
Steps:
- Sketch your design lightly on the wooden board.
- Hammer nails along the outline of your design.
- Tie the thread to one nail and start weaving it around the other nails.
- Fill in the design with as much thread as you like.
Tips:
- Simple shapes like hearts, stars, or letters work best for beginners.
- Choose thread colors that complement your room decor.
- Layer different colors of thread for depth and dimension.
String art adds a tactile and three-dimensional element to your wall, giving it a unique handmade charm.

4. Framed Fabric Art
Framed fabric art is an affordable and versatile option that can instantly add texture and color to your walls.
Materials Needed:
- Fabric in your desired pattern
- Frame
- Scissors
- Tape or glue
Steps:
- Choose a fabric that complements your room’s color palette.
- Cut the fabric slightly larger than your frame.
- Stretch the fabric over the frame and secure it with tape or glue.
- Hang the frame on your wall.
Tips:
- Use bold, patterned fabrics for a statement piece.
- Mix different fabric textures, like linen and velvet, for variety.
- Group multiple framed fabrics together for a gallery-style wall.
Framed fabric art allows you to change your wall decor seasonally by swapping out fabrics, keeping your space fresh and stylish.

5. Washi Tape Wall Designs
Washi tape is a decorative adhesive tape that comes in countless colors and patterns. It’s perfect for creating temporary wall art that won’t damage your paint.
Materials Needed:
- Washi tape
- Pencil and ruler for planning
- Wall space
Steps:
- Decide on your design. Simple shapes or abstract patterns work well.
- Use a pencil and ruler to lightly mark where the tape will go.
- Apply the washi tape along your design lines.
- Smooth out any bubbles or wrinkles.
Tips:
- Create a chevron pattern for a bold effect.
- Use multiple colors for a playful, layered look.
- Washi tape is easy to remove, so don’t be afraid to experiment.
Washi tape wall art is ideal for renters or anyone who likes to change their decor frequently.

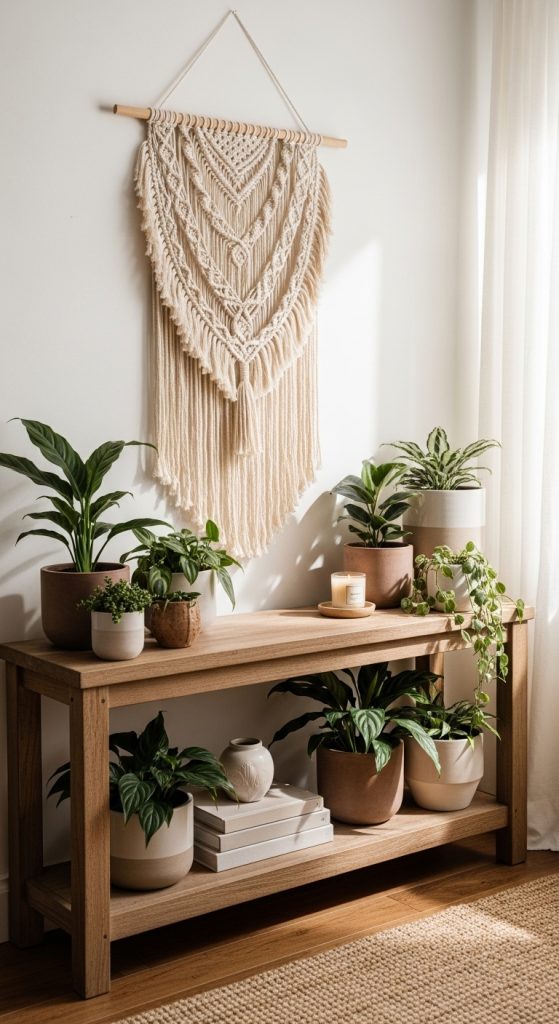
6. DIY Macrame Wall Hanging
Macrame is a timeless craft that adds texture and bohemian charm to any wall.
Materials Needed:
- Macrame cord
- Wooden dowel or branch
- Scissors
- Tape measure
Steps:
- Cut cords to your desired length.
- Attach cords to the dowel using a lark’s head knot.
- Create patterns using square knots, half knots, or other macrame techniques.
- Trim the ends to shape your hanging.
Tips:
- Keep it simple for a modern boho look or add intricate patterns for a more detailed piece.
- Dye cords in ombre colors for added visual interest.
- Hang near a natural light source to highlight texture.
Macrame wall hangings create a cozy and artistic atmosphere in living rooms, bedrooms, or hallways.
7. Personalized Photo Collage
A photo collage is a heartfelt way to display memories and personalize your wall space.
Materials Needed:
- Photos
- Frame or canvas
- Glue or photo tape
- Optional: colored paper or scrapbook elements
Steps:
- Select your favorite photos and print them in various sizes.
- Arrange the photos on your canvas or frame before securing them.
- Glue or tape the photos in place.
- Add decorative elements if desired.
Tips:
- Use black-and-white photos for a classic, elegant look.
- Mix small and large photos for a dynamic layout.
- Create themed collages, like travel or family memories, for added meaning.
Photo collages not only make a beautiful visual display but also bring warmth and personal storytelling to your space.

8. Nature-Inspired Pressed Flower Art
Pressed flower art is a delicate and natural way to decorate your walls.
Materials Needed:
- Fresh flowers or leaves
- Heavy books or a flower press
- Frame or shadow box
- Glue
Steps:
- Press flowers between the pages of a heavy book for several weeks or use a flower press.
- Arrange the pressed flowers on paper or fabric backing.
- Secure them with glue.
- Frame your creation and hang it on the wall.
Tips:
- Use flowers with vibrant colors for visual impact.
- Mix different leaf shapes and sizes for texture.
- Consider adding a handwritten note or quote for a personalized touch.
Pressed flower art brings a serene, botanical feel to your home, perfect for living rooms, bedrooms, or bathrooms.

9. Wooden Pallet Wall Art
Repurposing wooden pallets into wall art is an eco-friendly way to add rustic charm to your home.
Materials Needed:
- Wooden pallet
- Sandpaper
- Paint or wood stain
- Nails or screws
- Optional: stencils for designs
Steps:
- Sand the pallet to smooth rough edges.
- Paint or stain the wood as desired.
- Use stencils to create patterns or quotes.
- Hang the pallet vertically or horizontally on your wall.
Tips:
- Mix different shades of stain for a rustic, textured look.
- Combine multiple pallets for a large statement piece.
- Incorporate small shelves into the pallet for functional wall art.
Pallet wall art is a creative way to recycle materials and bring warmth to any space.

10. DIY String and Nail Quote Art
Inspirational quotes are a great way to add positivity to your space. Combining string and nails, you can create a unique quote display.
Materials Needed:
- Wooden board
- Nails
- Embroidery thread or string
- Hammer
- Pencil
Steps:
- Write your quote on the board lightly with a pencil.
- Hammer nails along the outline of each letter.
- Use string to connect the nails and form each letter.
- Fill in letters with string for a bold effect.
Tips:
- Use a mix of colors for a vibrant, playful look.
- Keep letters simple for legibility.
- Choose quotes that resonate with your lifestyle or personality.
String and nail quote art is perfect for living rooms, offices, or bedrooms as a motivational wall feature.

Conclusion
DIY wall art is a wonderful way to express creativity, add personality to your home, and create meaningful decor. From abstract canvas pours to delicate pressed flowers, the options are endless. These ten ideas offer a mix of techniques, styles, and difficulty levels, making it easy for anyone to start crafting their own wall masterpieces. By investing a little time and effort, you can transform plain walls into visually stunning and unique expressions of your personality.
Embrace your creativity and start your DIY wall art journey today. Every project you complete will bring more warmth, beauty, and individuality to your home.
Author
admin@weltpromi.de
Related Posts
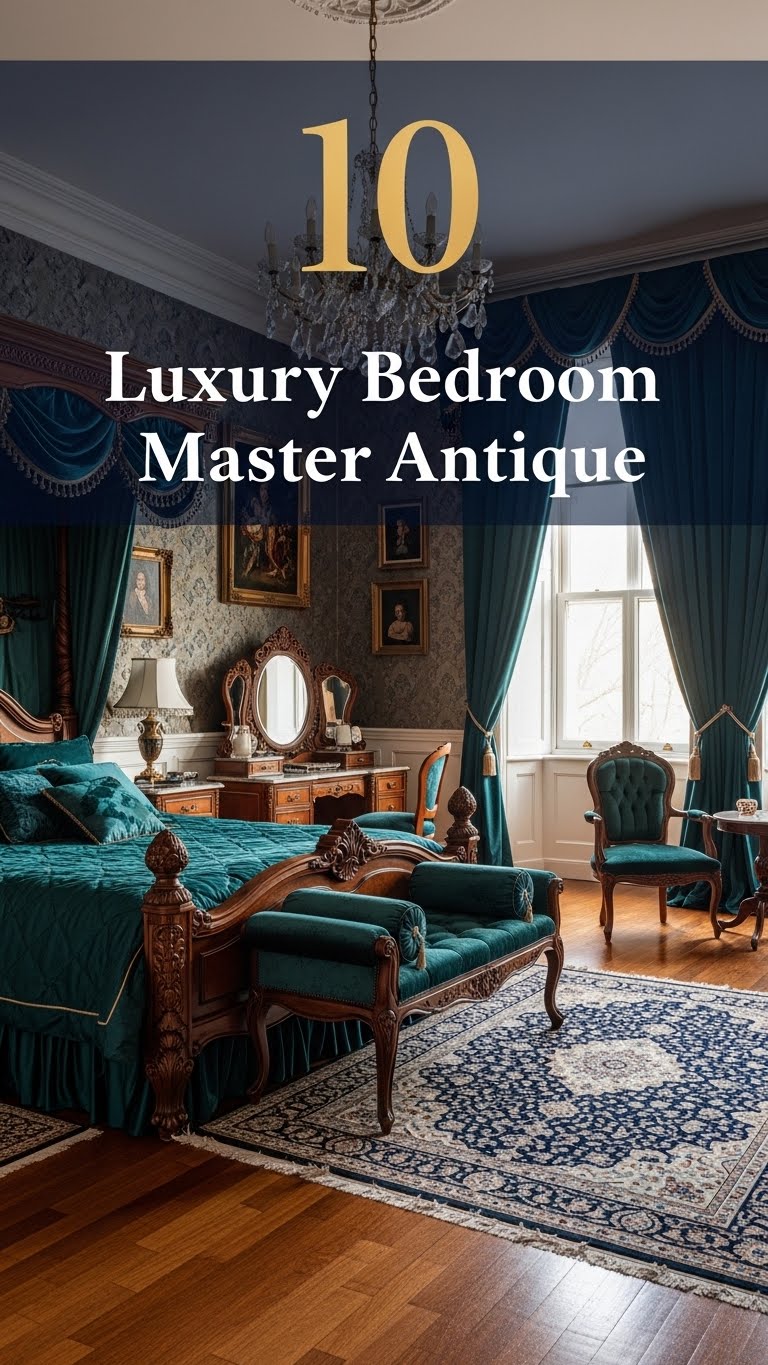
10 Luxury Bedroom Master Antique
Creating a luxurious master bedroom is all about blending comfort, elegance, and timeless design. When you add antique elements into the mix,...
Read out all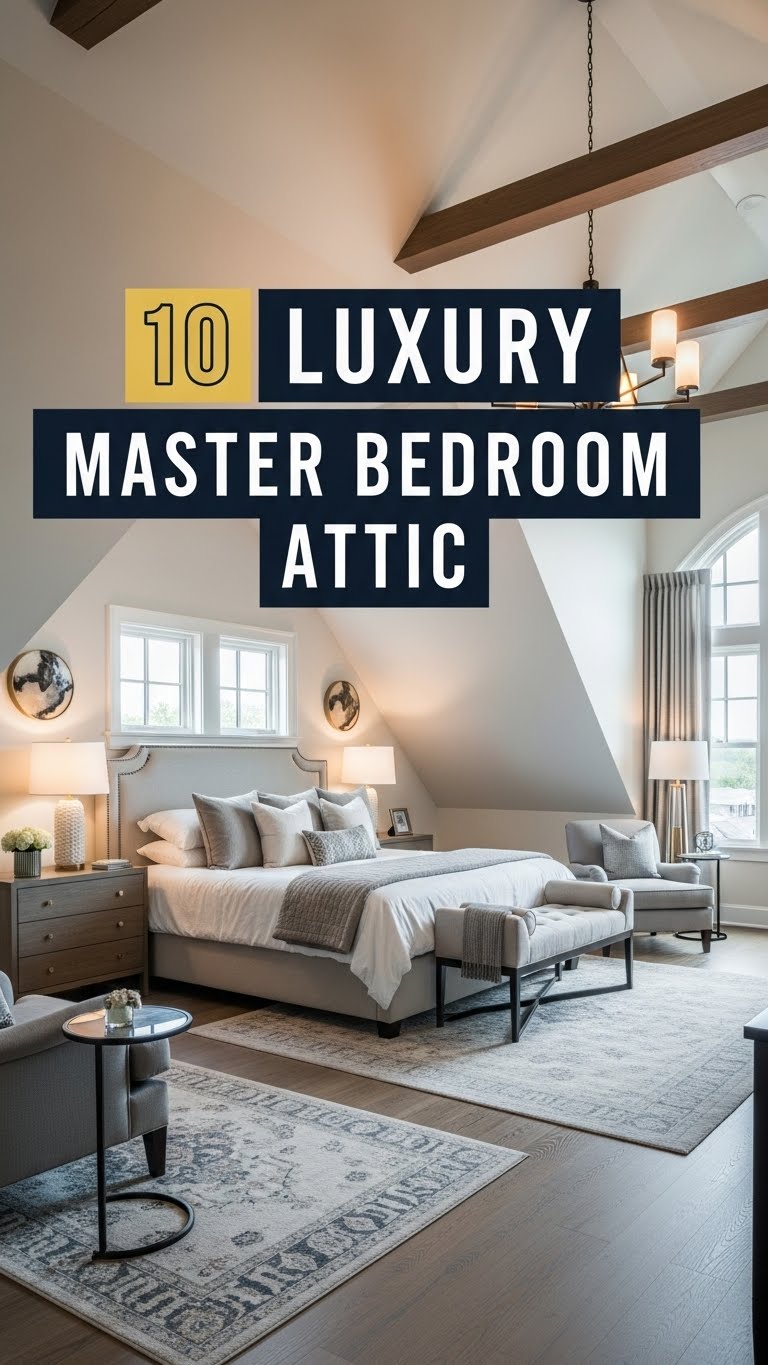
10 Luxury Master Bedroom Attic
Turning an attic into a luxurious master bedroom is an excellent way to maximize your home’s potential. Attics often come with unique...
Read out all
10 Luxury Bedroom Master Aesthetic
Creating a luxurious master bedroom is about more than just choosing expensive furniture. It is about crafting a space that embodies comfort,...
Read out all
10 Bedroom Bed Designs
Your bedroom is more than just a place to sleep—it’s a sanctuary, a personal retreat where style and comfort meet. Central to...
Read out all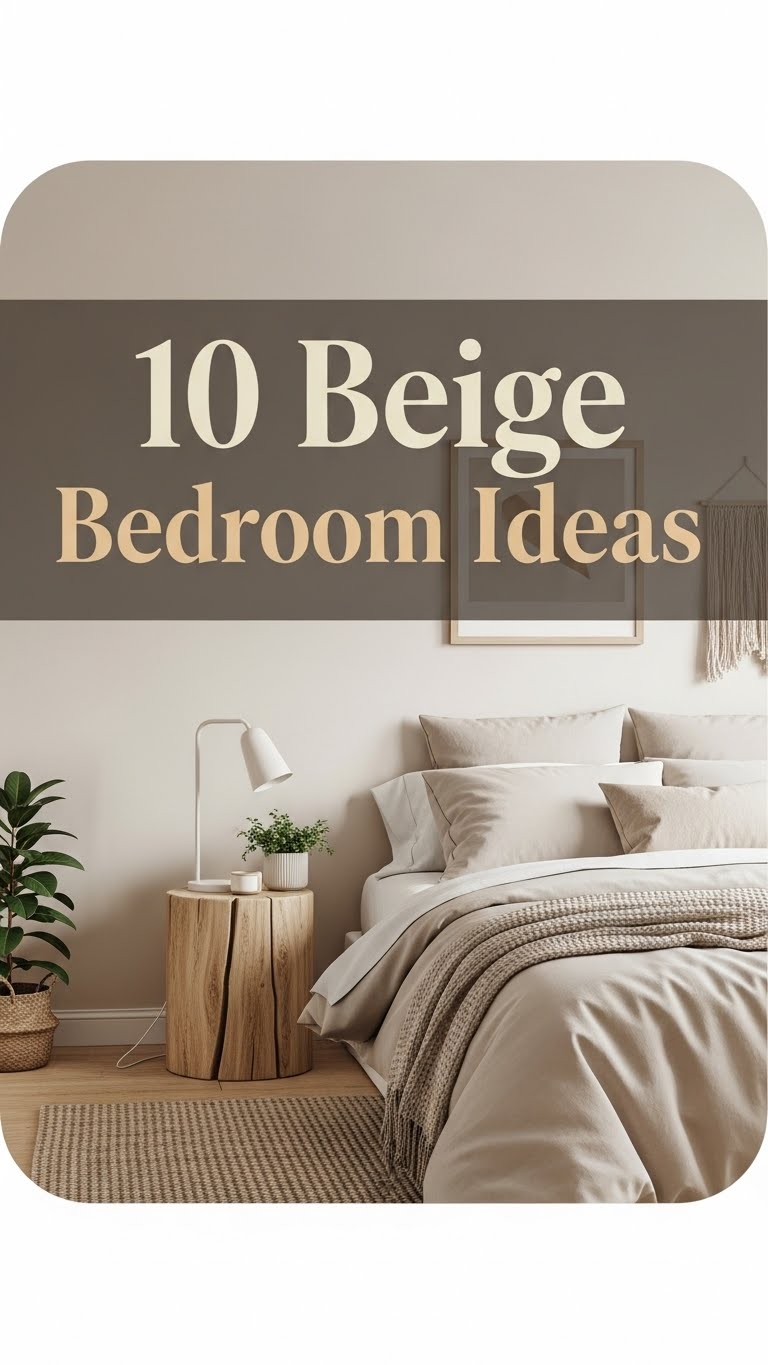
10 Beige Bedroom Ideas
When it comes to bedroom design, beige is a timeless and versatile color that exudes warmth, sophistication, and calm. Unlike brighter colors...
Read out all
10 Cool Bedroom Ideas
Your bedroom is more than just a place to sleep. It is your sanctuary, your personal retreat, and a reflection of your...
Read out all