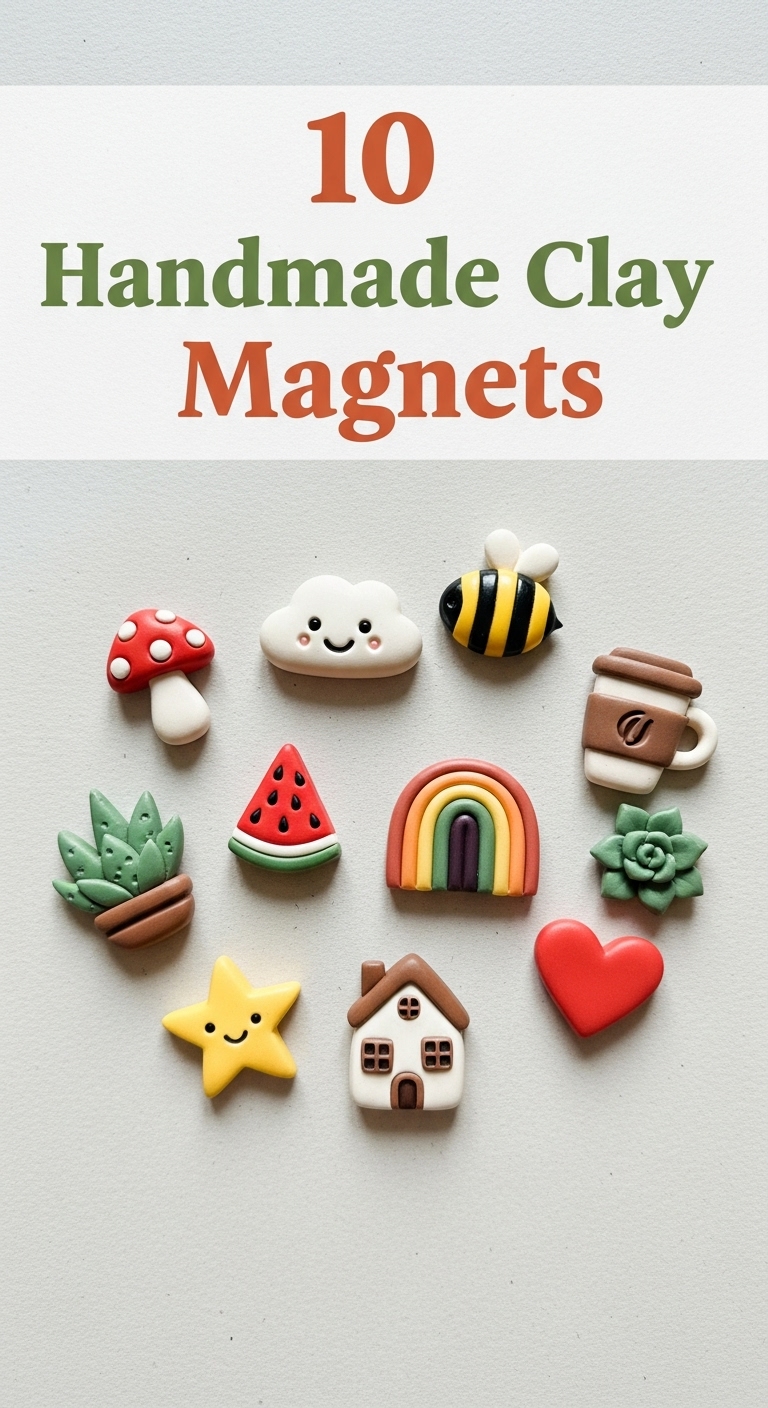
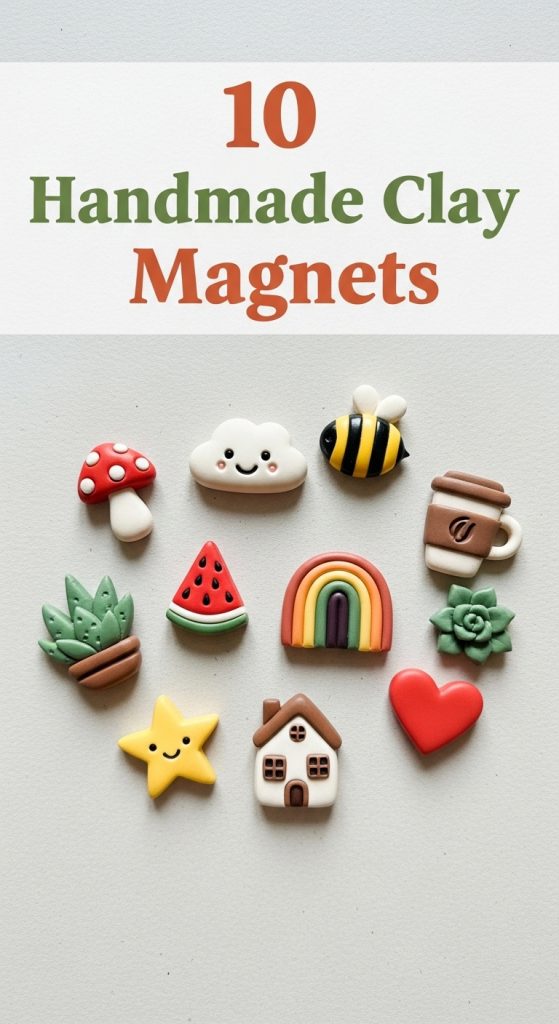
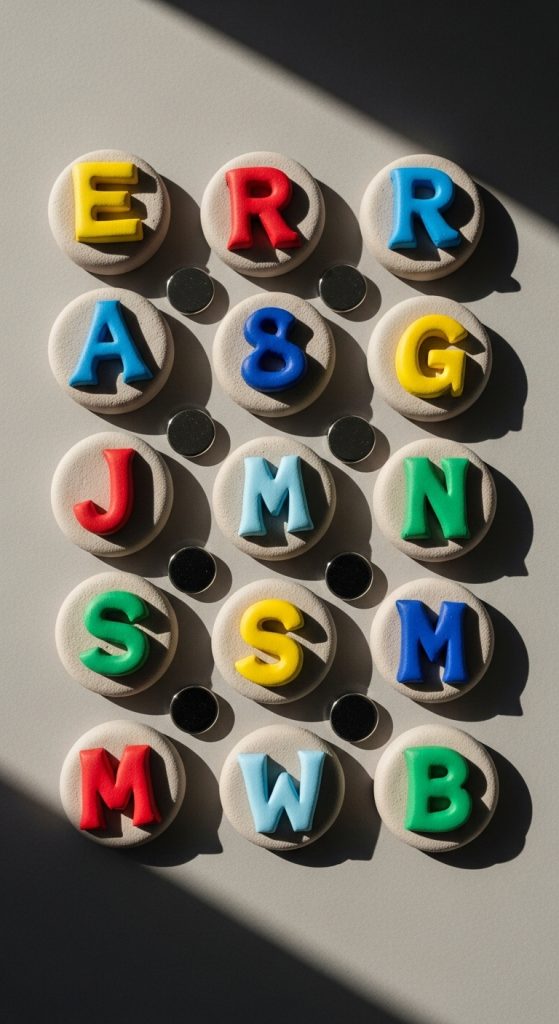
If you are looking for a fun and creative way to decorate your fridge, locker, or workspace, handmade clay magnets are an excellent choice. They are small, customizable, and allow you to showcase your creativity in a practical form. Whether you are a beginner or an experienced crafter, creating clay magnets can be a relaxing and fulfilling activity. In this blog post, we will explore ten unique handmade clay magnet ideas, step-by-step instructions, and tips for making your magnets stand out.
Why Choose Handmade Clay Magnets
Handmade clay magnets have a lot of advantages over store-bought options. Here are a few reasons to consider making them yourself:
- Customization – You can create shapes, colors, and patterns that perfectly match your style.
- Personal Touch – Handmade items carry personality and warmth, making them excellent gifts.
- Affordable – Clay and magnets are inexpensive, so creating a set does not require a large budget.
- Therapeutic – Crafting with clay is relaxing and improves hand-eye coordination.
Now, let’s dive into ten handmade clay magnet ideas that you can try at home.
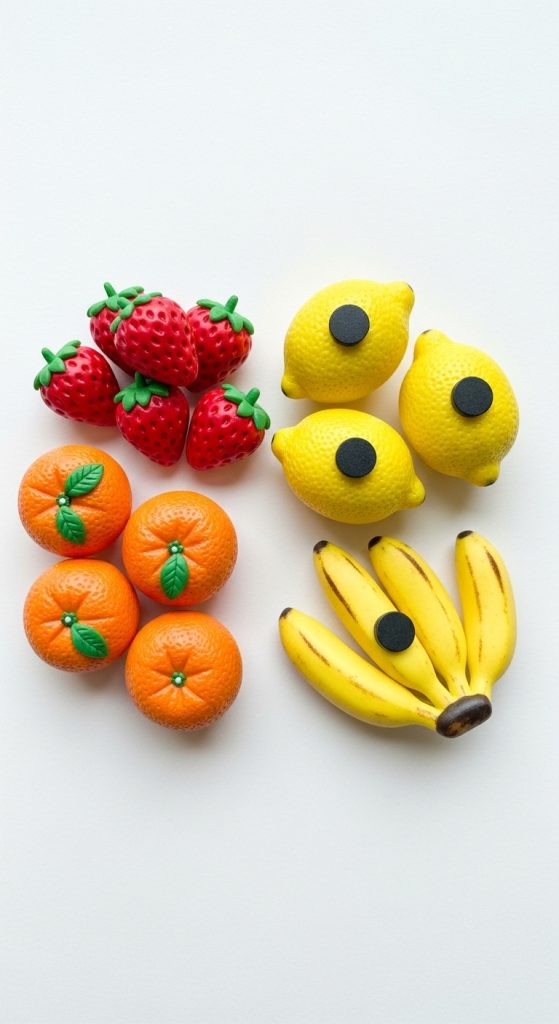
1. Mini Fruit Magnets
One of the most popular types of clay magnets is miniature fruits. From strawberries to lemons, these tiny pieces of food art can brighten up your fridge or kitchen.
Materials Needed:
- Polymer clay in various fruit colors
- Small round magnets
- Clay sculpting tools
- Oven for baking
Steps:
- Shape the clay into small fruits like strawberries, oranges, or bananas.
- Add details using sculpting tools, such as seeds on strawberries or segments on oranges.
- Bake according to the polymer clay instructions.
- Attach magnets to the back with strong glue.
Tips: Mix clay colors slightly to create realistic fruit shades.
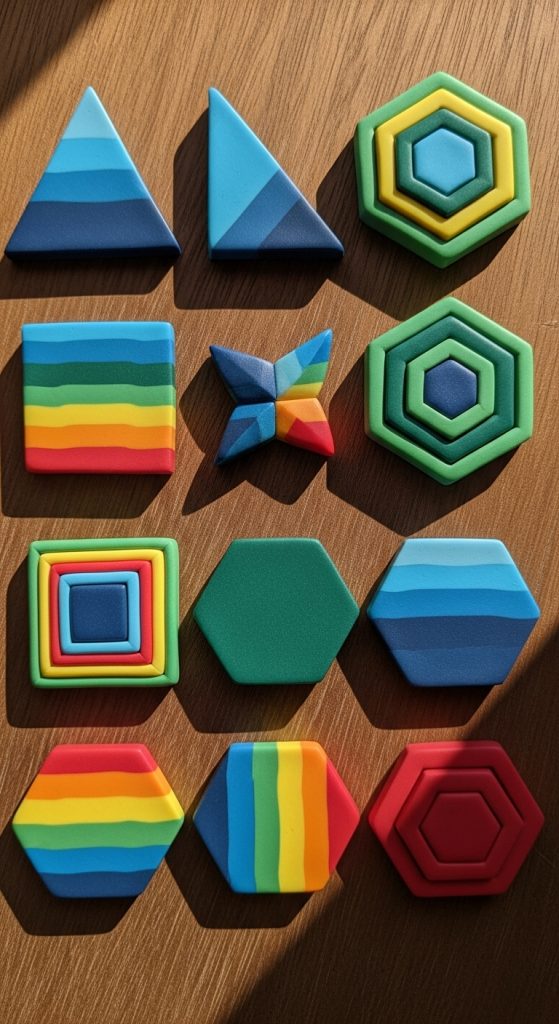
2. Geometric Shape Magnets
Geometric magnets are modern, minimal, and easy to make. Triangles, squares, and hexagons work beautifully on office boards or fridges.
Materials Needed:
- Polymer clay in two or three colors
- Rolling pin
- Cutting tools
- Small magnets
Steps:
- Roll out clay to an even thickness.
- Cut shapes using cutters or a knife.
- Combine two or more colors for a layered effect.
- Bake and attach magnets once cooled.
Tips: Use a smooth surface like a silicone mat for rolling clay to avoid uneven thickness.
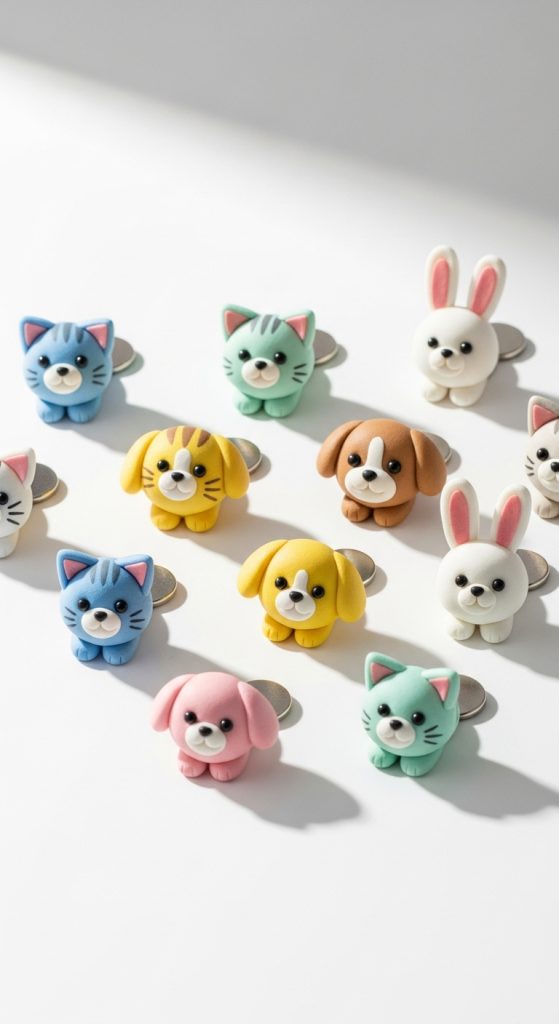
3. Animal Magnets
From cats and dogs to exotic animals, clay animal magnets are fun and appealing. They are great for kids’ rooms or animal lovers.
Materials Needed:
- Clay in multiple colors
- Small sculpting tools
- Magnets
- Acrylic paint for details
Steps:
- Shape the main body of the animal first.
- Add small details like ears, tails, or facial features.
- Bake and paint fine details.
- Glue magnets on the back.
Tips: Keep animal shapes simple for beginners. Small round magnets work best for stability.
4. Floral Magnets
Floral clay magnets can add a touch of elegance to any space. Roses, daisies, and tulips are easy to shape and look beautiful in sets.
Materials Needed:
- Polymer clay in flower colors
- Sculpting tools
- Small magnets
Steps:
- Roll clay into tiny petals and assemble them into flowers.
- Flatten the back to make magnet attachment easy.
- Bake according to instructions.
- Attach magnets.
Tips: Make flowers in multiple sizes for visual interest.

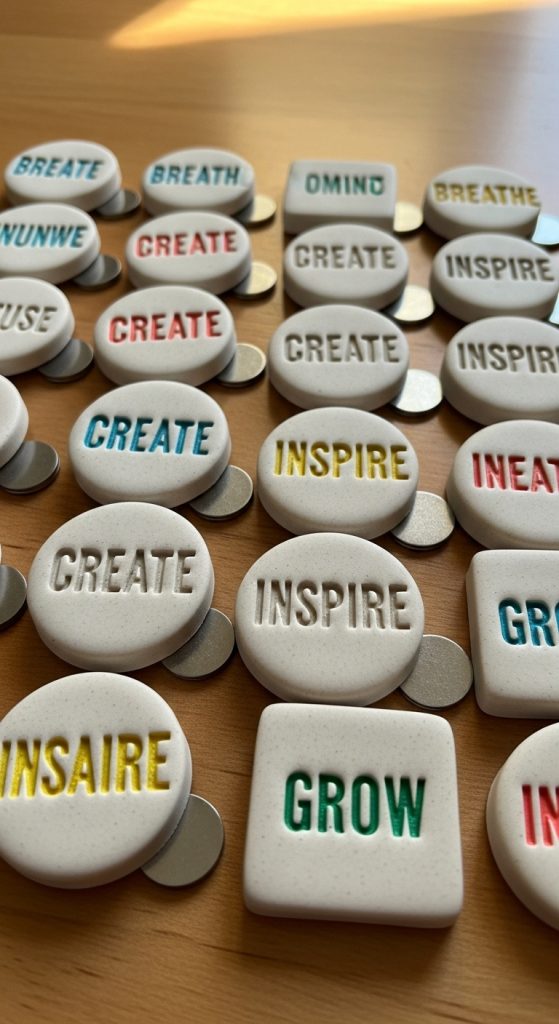
5. Inspirational Quote Magnets
For a personal touch, create clay magnets with short words or quotes. They can motivate you or add a cheerful note to your fridge.
Materials Needed:
- White or neutral-colored clay
- Alphabet stamps or fine sculpting tools
- Magnets
Steps:
- Roll out clay and cut into small rectangles or circles.
- Stamp letters or words onto the clay.
- Bake and paint letters if desired.
- Attach magnets.
Tips: Seal painted letters with a clear gloss for durability.
6. Food-Themed Magnets
Beyond fruits, you can craft tiny desserts or snacks like cupcakes, donuts, or pizza slices. These magnets are perfect for kitchens or cafés.
Materials Needed:
- Colorful polymer clay
- Sculpting tools
- Magnets
Steps:
- Shape the base of your food item first.
- Add toppings or details like sprinkles or icing.
- Bake and attach magnets.
Tips: Use pastel colors for a cute, whimsical effect.

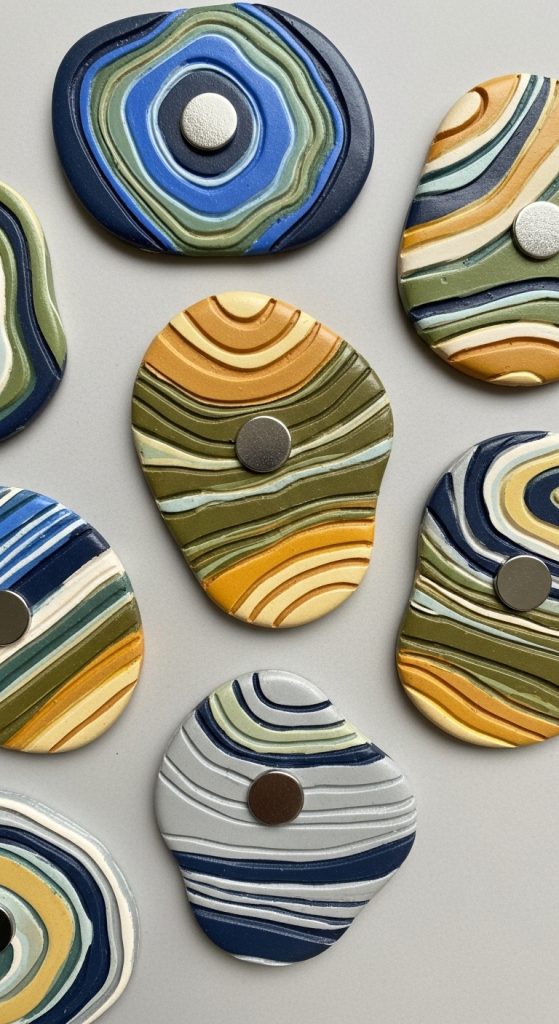
7. Abstract Art Magnets
If you love artistic expression, abstract clay magnets are ideal. Swirls, blobs, and layered colors can make each magnet unique.
Materials Needed:
- Multiple clay colors
- Rolling and sculpting tools
- Magnets
Steps:
- Mix two or three clay colors for a marbled effect.
- Cut into random shapes.
- Bake and attach magnets.
Tips: Play with textures by pressing tools lightly into the clay surface.
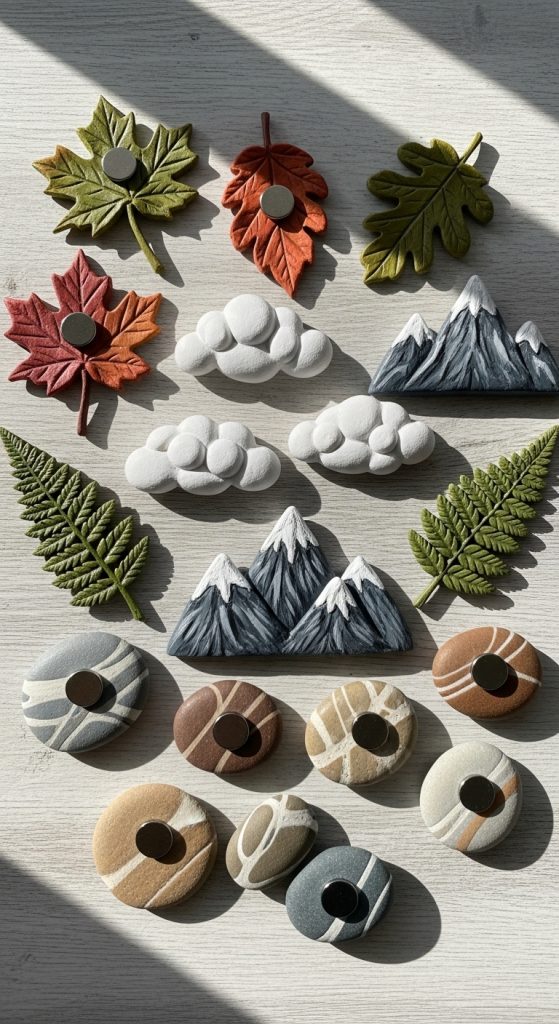
8. Nature-Inspired Magnets
Leaves, mountains, clouds, and stones made from clay can bring a natural vibe to your home décor.
Materials Needed:
- Green, brown, blue, and gray clay
- Sculpting tools
- Magnets
Steps:
- Shape nature-inspired forms like leaves or clouds.
- Add texture to make them realistic.
- Bake and attach magnets.
Tips: Combine textures like smooth stones with rough leaves for a dynamic display.
9. Holiday-Themed Magnets
Seasonal clay magnets make great gifts or decorations. Create tiny pumpkins for fall, snowmen for winter, or hearts for Valentine’s Day.
Materials Needed:
- Polymer clay in festive colors
- Sculpting tools
- Magnets
Steps:
- Shape your holiday design.
- Add small details like eyes, patterns, or textures.
- Bake and attach magnets.
Tips: Store these magnets carefully for future seasonal use.

10. Customized Name Magnets
Personalized magnets with names or initials are perfect for desks, lockers, or as gifts.
Materials Needed:
- Neutral-colored clay
- Letter stamps or carving tools
- Magnets
Steps:
- Roll clay into a small rectangle.
- Stamp or carve the letters.
- Bake and paint details if needed.
- Attach magnets.
Tips: Use bright colors for letters to make them pop against a neutral background.
Essential Tips for Making Clay Magnets
- Choose Quality Clay: Polymer clay is ideal for detailed magnets. Air-dry clay is another option but may be less durable.
- Use Strong Magnets: Small but strong magnets will ensure your magnets stay in place.
- Experiment with Textures: Impress with patterns by pressing textured surfaces or stamps into clay before baking.
- Seal Your Work: A clear glaze or varnish can enhance colors and durability.
- Work in Small Batches: Avoid drying out clay before finishing.
Display Ideas for Your Handmade Clay Magnets
- Fridge Gallery: Create a rotating display of your favorite magnets.
- Magnet Board: Dedicate a cork or metal board for all your clay art.
- Office Space: Use magnets to hold notes and add personality to your workspace.
- Gift Sets: Package a set of handmade magnets as a thoughtful gift.
Conclusion
Handmade clay magnets are an enjoyable craft that allows you to explore creativity, add personality to your home, and create meaningful gifts. Whether you prefer mini fruit, geometric designs, nature-inspired shapes, or personalized letters, there is no limit to the designs you can create. These ten ideas are just the beginning. Once you start experimenting, you may find yourself developing a whole new style of clay magnet art.
Start small, enjoy the process, and soon your home or workspace will be adorned with your unique, handmade creations. Clay magnets are more than decorations; they are little pieces of art that carry your personal touch.
Author
admin@weltpromi.de
Related Posts
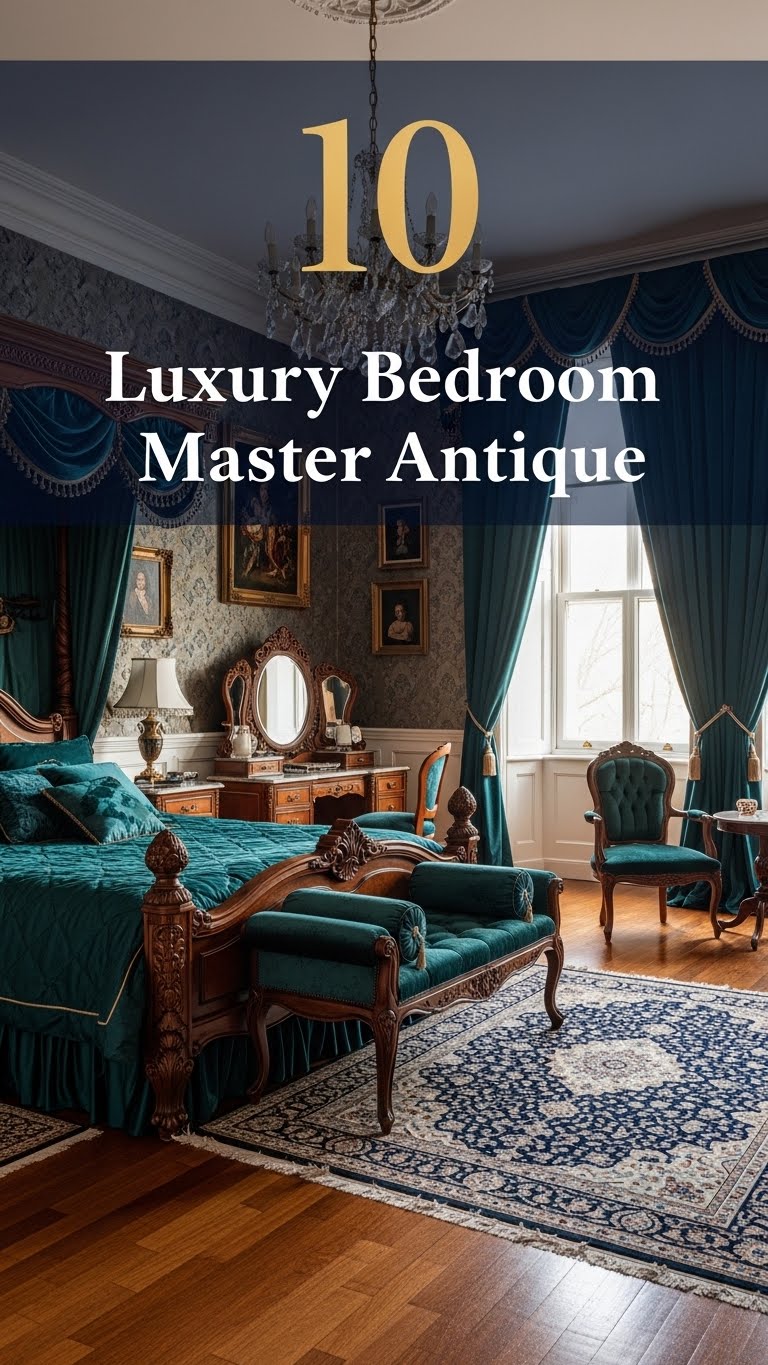
10 Luxury Bedroom Master Antique
Creating a luxurious master bedroom is all about blending comfort, elegance, and timeless design. When you add antique elements into the mix,...
Read out all
10 Luxury Master Bedroom Attic
Turning an attic into a luxurious master bedroom is an excellent way to maximize your home’s potential. Attics often come with unique...
Read out all
10 Luxury Bedroom Master Aesthetic
Creating a luxurious master bedroom is about more than just choosing expensive furniture. It is about crafting a space that embodies comfort,...
Read out all
10 Bedroom Bed Designs
Your bedroom is more than just a place to sleep—it’s a sanctuary, a personal retreat where style and comfort meet. Central to...
Read out all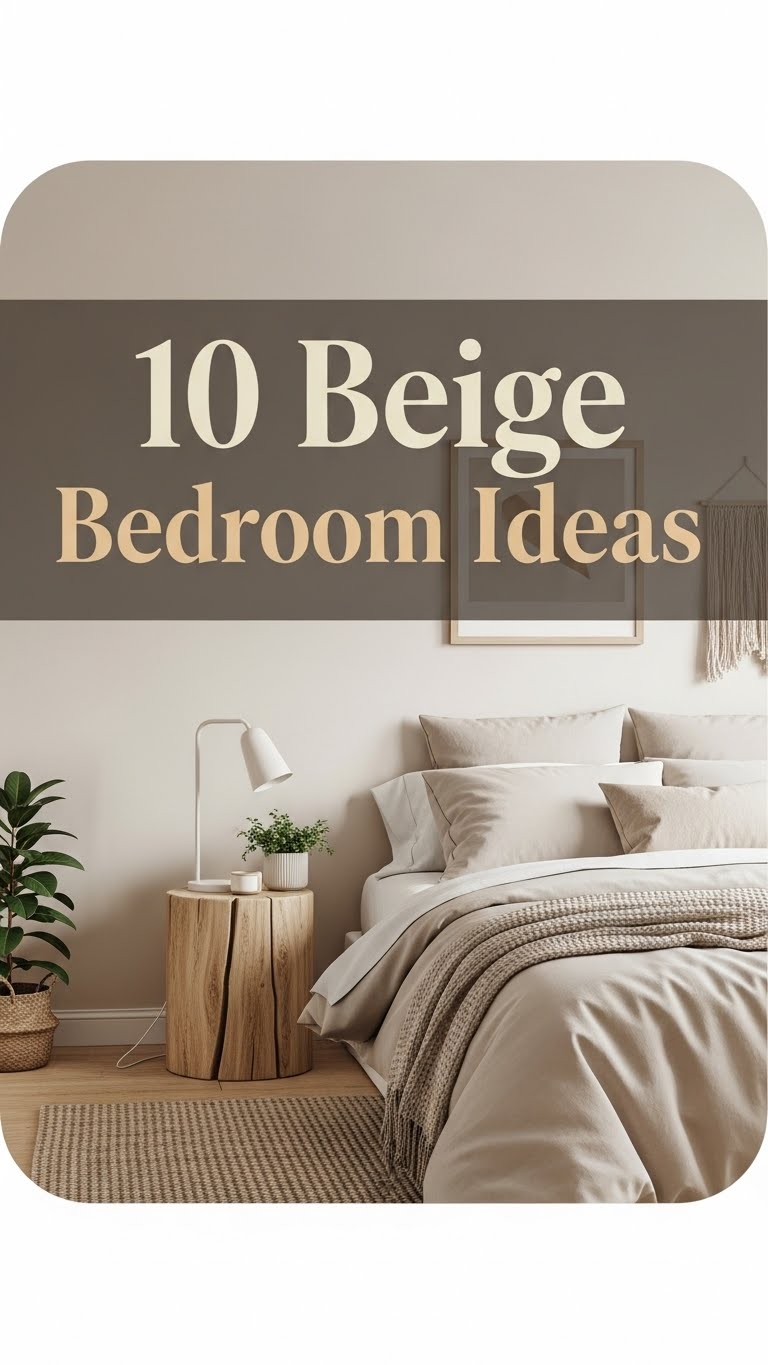
10 Beige Bedroom Ideas
When it comes to bedroom design, beige is a timeless and versatile color that exudes warmth, sophistication, and calm. Unlike brighter colors...
Read out all
10 Cool Bedroom Ideas
Your bedroom is more than just a place to sleep. It is your sanctuary, your personal retreat, and a reflection of your...
Read out all